
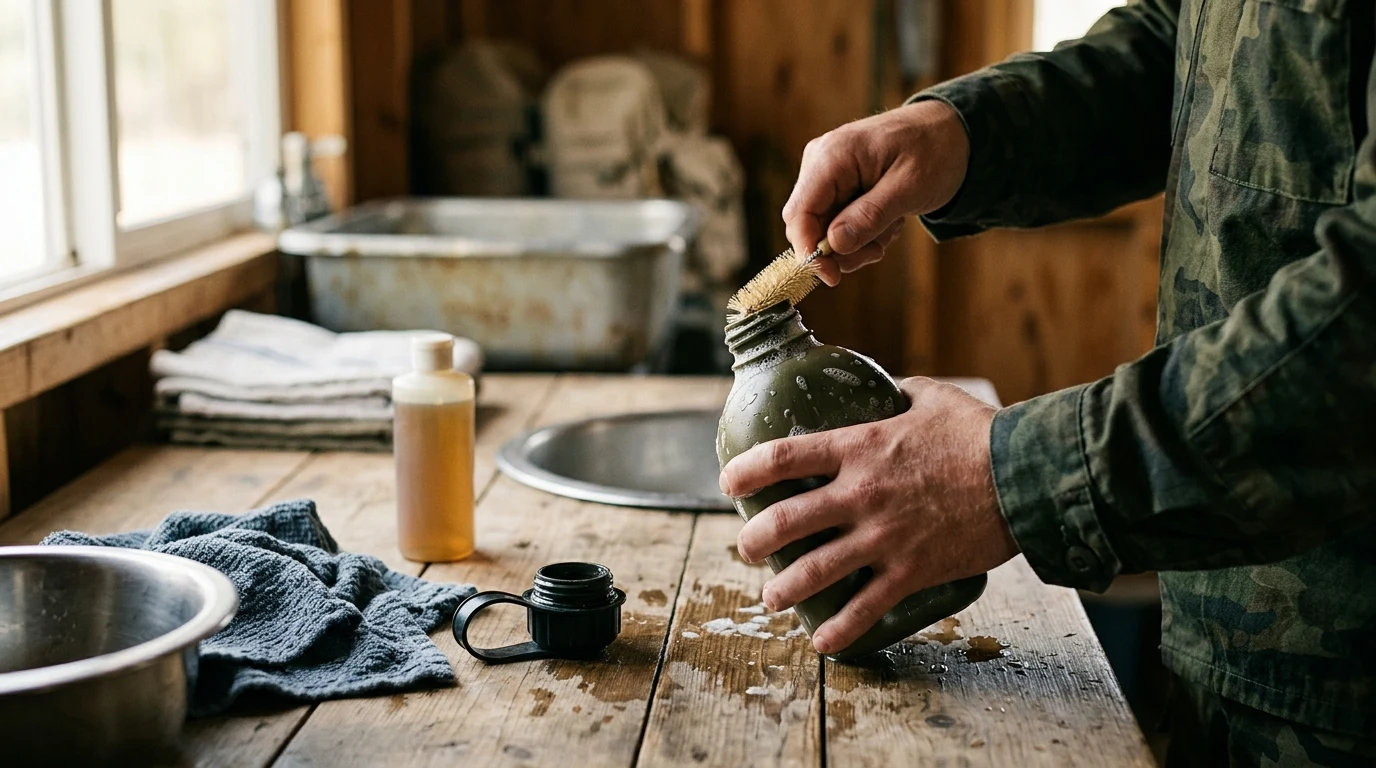
How to Wash a JCLC Canteen — Sanitation & Taste Removal Guide
✨ This article was AI edited. Editorial responsibility: CrownClassicCleaners.net.
Produced with AI. This article was artificially generated. Editorial responsibility: CrownClassicCleaners.net.
To wash a JCLC (Junior Cadet Leadership Challenge) canteen effectively, disassemble the cap and rubber sealing gasket, wash the interior with warm water and mild fragrance-free dish soap using an angled bottle brush, sanitize with a solution of 1 teaspoon baking soda and warm water or a 1:4 distilled white vinegar rinse to eliminate residual plastic odors, rinse thoroughly with fresh water, and allow the vessel to air-dry completely upside down on an elevated rack to prevent microbial colonization.
Junior Cadet Leadership Challenge (JCLC) summer encampments demand peak physical endurance, disciplined field craft, and strict personal hygiene. Among the standard tactical gear issued to Army JROTC cadets, the one-quart military-style hydration canteen is perhaps the most heavily utilized tool. However, frequent outdoor training exercises expose field canteens to heat, organic debris, sweat, airborne dust, and stagnant moisture. When high-density polyethylene (HDPE) or military-grade polymers sit sealed in high ambient temperatures, bacteria, mold spores, and biofilm rapidly proliferate inside the reservoir. Proper maintenance is not merely an aesthetic concern; it directly prevents gastrointestinal distress and ensures clean hydration throughout rigorous leadership drills.
Understanding JCLC Canteen Materials & Engineering
Cadet command hydration kits generally feature either standard-issue 1-quart olive drab or desert tan plastic canteens manufactured from high-density polyethylene (HDPE) or BPA-free polypropylene, or heavy-duty food-grade stainless steel field vessels. Identifying the specific material of your canteen dictates the thermal tolerances and chemical agents suitable for sanitation:
- High-Density Polyethylene (HDPE): The most common polymer for tactical field gear. HDPE is flexible, impact-resistant, and lightweight. However, it possesses a porous micro-structure compared to glass or polished metals. It is prone to absorbing sulfurous or stale water odors and cannot withstand rolling boiling water, which causes plastic warping and structural failure.
- BPA-Free Polypropylene & Tritan Canteens: Rigid, translucent, and highly resistant to odor retention. These vessels tolerate moderately higher temperatures but are still sensitive to caustic chemical bleaches.
- Stainless Steel Canteens (Heavy-Duty Surplus): Extremely durable and non-porous. Stainless steel canteens can tolerate boiling water sanitization and direct flame boiling during survival training, though they require specific attention to seam corrosion and rim threads.
Essential Equipment for Deep Sanitation
Cleaning tactical hydration equipment requires dedicated tools designed to reach recessed corners and intricate threading. Do not rely on casual hand swirling, which leaves the bottom perimeter unscrubbed:
| Tool / Agent | Purpose | Recommended Specification |
|---|---|---|
| Curved Bottle Brush | Mechanical scrubbing of inner walls | Nylon-bristled brush with wire stem |
| O-Ring Pick / Blunt Toothpick | Gasket removal | Non-scratch wooden or plastic probe |
| Fragrance-Free Surfactant | Degreasing and surface tension reduction | Eco-friendly mild dish soap |
| USP Sodium Bicarbonate | Odor neutralization & mild abrasion | Pure baking soda powder |
| Distilled White Vinegar | Mineral deposit & biofilm dissolution | 5% acetic acid food-grade vinegar |
| Effervescent Cleaning Tabs | Hands-free field decontamination | Chlorine dioxide or sodium carbonate peroxyhydrate tabs |
Step-by-Step Protocol: Deep Washing a JCLC Canteen
Step 1: Complete Disassembly and Mechanical Rinse
Begin by detaching the canteen screw cap from the retaining retention strap if removable. Inspect the underside of the cap for a flexible rubber or silicone O-ring gasket. This gasket seals moisture during marches but frequently traps microscopic mold spores and calcium deposits beneath its rim. Use a blunt toothpick or clean fingernail to gently tease the O-ring out from its groove. Rinse both the vessel body, cap, and sealing ring under warm running water (approximately 110°F to 120°F / 43°C to 49°C) to dislodge loose silt, sand, and particulate matter.
Step 2: Surfactant Scrubbing
Squirt approximately 5 to 10 drops of liquid dish soap into the canteen reservoir and add 4 ounces of lukewarm water. Insert the nylon bottle brush, bending the flexible neck slightly to ensure the bristles make full contact with the bottom curved corners and interior shoulders where liquid settles. Rotate the brush vigorously in circular motions against the bottom rim for at least 60 seconds. Scrub the cap threading, spout lip, and exterior neck ridges with a soft sponge or spare detail brush.
Step 3: Removing Plastic Taste & Mineral Odors
New plastic canteens and vessels stored closed over winter months often develop a strong chemical taste or stagnant mustiness. To neutralize these persistent compounds without degrading the polymer matrix:
- The Baking Soda Deodorizing Soak: Dissolve 2 tablespoons of pure baking soda in 16 ounces of warm water. Pour the alkaline solution into the canteen, seal the cap securely, and shake vigorously for 45 seconds. Let the canteen rest on its side for 3 hours, rotating it occasionally. Sodium bicarbonate neutralizes acidic odor compounds and absorbs plastic volatile organics.
- The Vinegar Acid Wash (Alternative for Biofilm): For visible dark spotting or mineral scale, fill the canteen with a mixture of 1 part distilled white vinegar to 3 parts warm water. Allow it to sit for 45 minutes. The 5% acetic acid solution breaks down bacterial cell walls and dissolves hard water calcium build-up without eroding polyethylene.
Step 4: Decontaminating the Cap and Gasket
Submerge the extracted rubber O-ring and cap in a shallow bowl containing warm water, a drop of dish soap, and a teaspoon of baking soda. Rub the gasket along its entire circumference between your thumb and forefinger to strip accumulated grime. Ensure the threaded grooves inside the cap are cleared of any dark mildew film before reassembly.
Step 5: Exhaustive Rinsing
Flush the canteen reservoir with clean, cool tap water at least four times. Any soap residue left on the porous inner surface can impart a soapy flavor or lead to minor intestinal discomfort during intense cadet marches. Sniff the opening: the interior should smell entirely neutral, with zero fragrance or plastic aroma.
Critical Drying Protocol: Preventing Mildew Re-colonization
The single greatest error made by cadets after field exercises is capping a damp canteen and storing it inside a footlocker or duffel bag. A closed, dark, moist environment creates ideal conditions for mold amplification within 24 to 48 hours. Follow this strict drying protocol:
- Invert the open canteen onto a wire dish drying rack or clean drying dowel so trapped air can escape and water droplets drain cleanly.
- Ensure the base is elevated at least 1 inch above the drying surface to allow ambient airflow into the neck.
- Keep the cap and O-ring separated on a lint-free towel until every drop of moisture has evaporated.
- Once completely dry, store the canteen with the cap unthreaded or loosely resting on the spout to permit continuous air exchange during the off-season.
Field Maintenance Guidelines During Summer Camp
When deployed in field conditions where full kitchen cleaning sinks are unavailable, cadets should maintain daily hygiene using field sanitization tablets. Chlorine dioxide hydration tablets or sodium dichloroisocyanurate water purification tablets can be dissolved in a full canteen once a week, allowed to sit for 30 minutes, and flushed with fresh potable water. Never allow sugary sports drink powders or hydration electrolyte mixes to sit in a plastic canteen overnight; the carbohydrates act as a fast-acting growth medium for black mold.
Frequently Asked Questions
Can I wash a military or JCLC canteen in the dishwasher?
Most military-issue HDPE plastic canteens should not be placed in a residential dishwasher. The intense radiant heat from the bottom drying heating element can warp the plastic body and distort the narrow spout threading, causing perpetual leaks. Furthermore, commercial dishwasher detergents contain harsh abrasives that etch the inner plastic lining. Hand washing with a bottle brush remains the safest method.
Can I pour boiling water into my plastic canteen to sterilize it?
No. Standard olive drab military plastic canteens are made from HDPE, which has a continuous service temperature limit around 160°F to 180°F (71°C to 82°C). Boiling water (212°F / 100°C) will soften the polymer, causing the walls to deform and potentially leach degradation byproducts. Only stainless steel or titanium field canteens can safely handle boiling water.
How do I get rid of black mold spots inside the bottom corners?
If black mold has developed, submerge the canteen interior in a sanitizing solution of 1 tablespoon of unscented oxygen bleach powder (sodium percarbonate) or mild bleach dilution (1 teaspoon household unscented bleach per quart of water) for 15 minutes. Scrub aggressively with a stiff wire-handled nylon bottle brush, rinse with running water six times, and follow with a full baking soda neutralizing wash.
How often should a cadet wash their canteen?
During active field exercises, canteens should receive a fresh water rinse daily, a soap-and-brush scrub twice per week, and a complete deodorizing soak immediately upon returning home from camp before long-term storage.
Get our latest guides, news, and insights highlighted in your Google Search & AI Overviews.


