25 Best Cleaning Hacks Tips and Tricks for Busy Homes (2026)
✨ This article was AI edited. Editorial responsibility: CrownClassicCleaners.net.
Produced with AI. This article was artificially generated. Editorial responsibility: CrownClassicCleaners.net.
Finding the best cleaning hacks tips and tricks can be the difference between spending your entire weekend scrubbing and having time to actually relax. We’ve compiled a master list of professional techniques that will completely transform how you tackle stubborn grime, pet hair, and cluttered rooms. Here are the secrets the pros use to speed-clean your entire home.

1. The Top-to-Bottom Dry-Before-Wet Room Routing Strategy
⏱️ Difficulty: Beginner | 🎯 Best For: Whole-home speed resets & routine optimization | ✨ Pro Result: Cuts cleaning time by 40% with zero dust re-settling
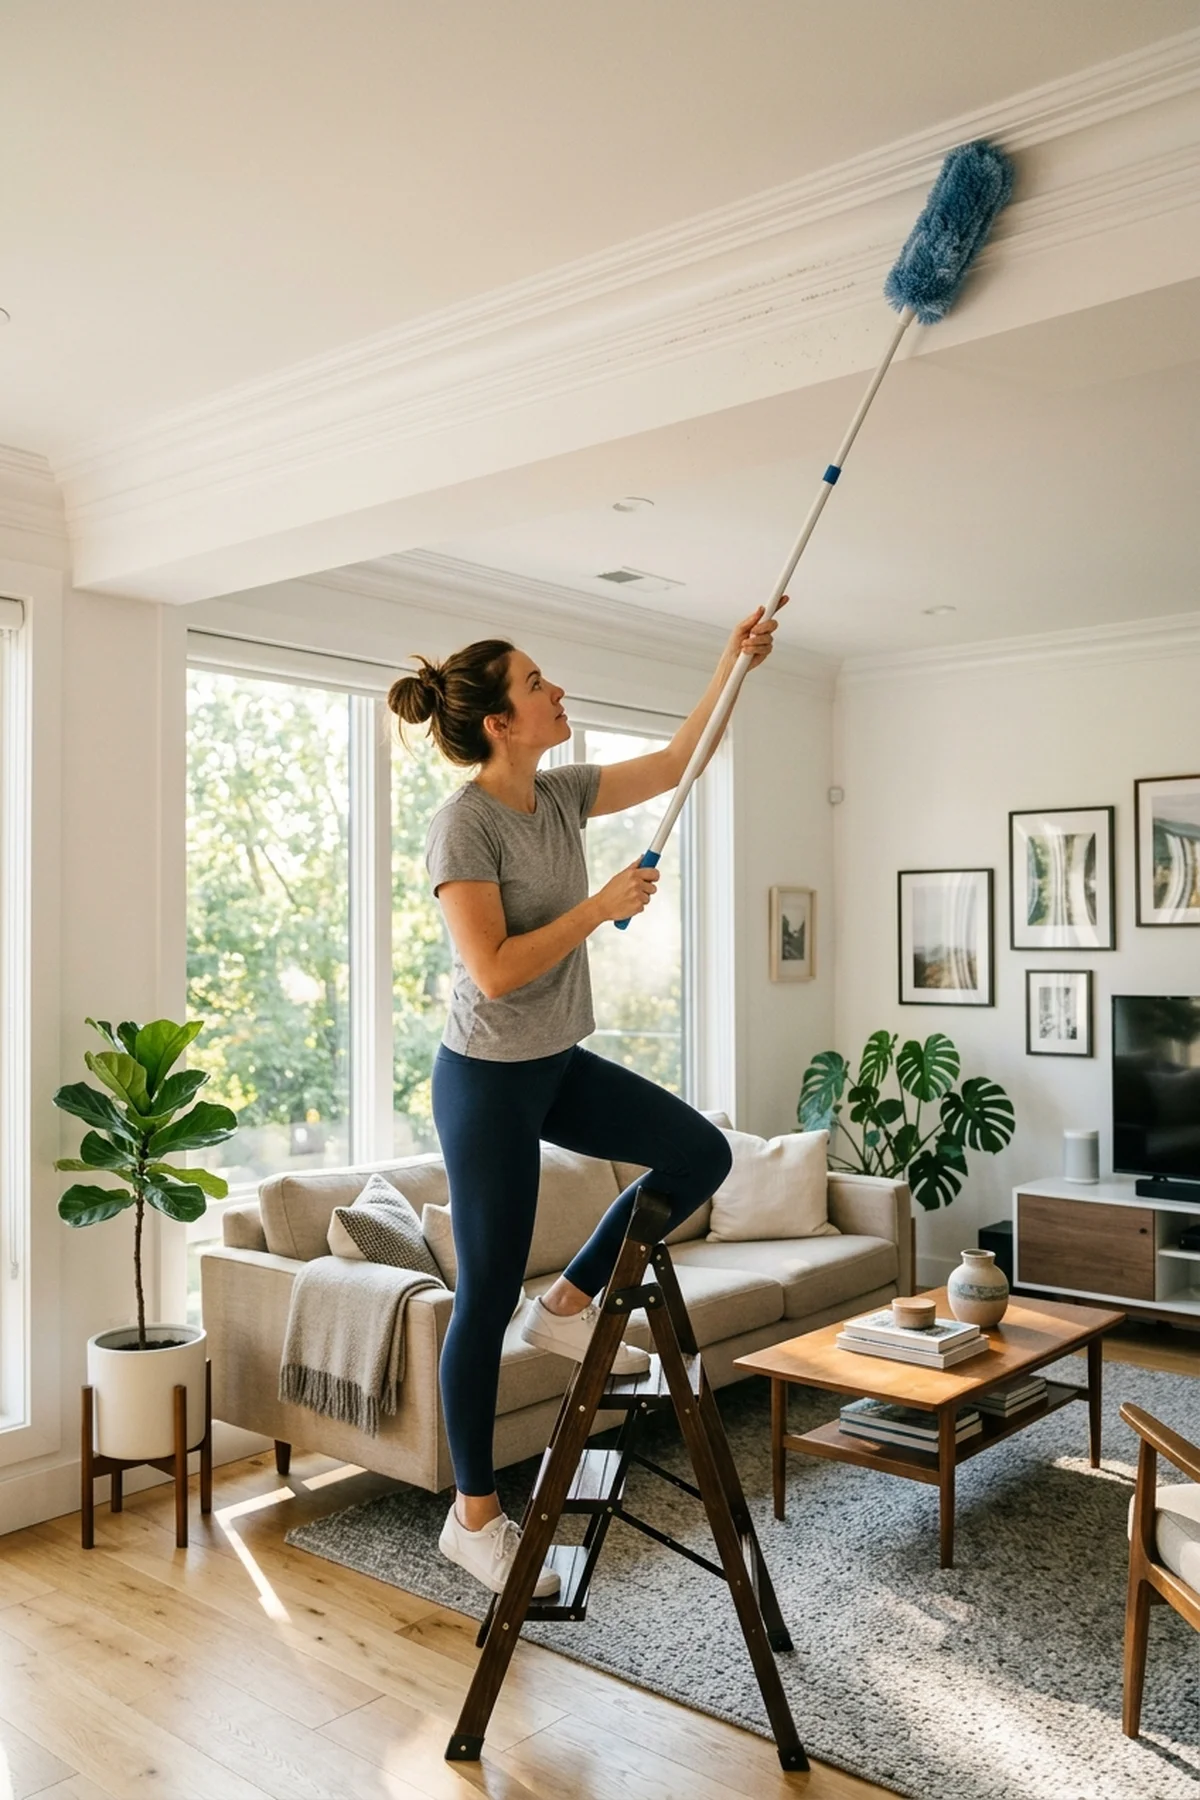
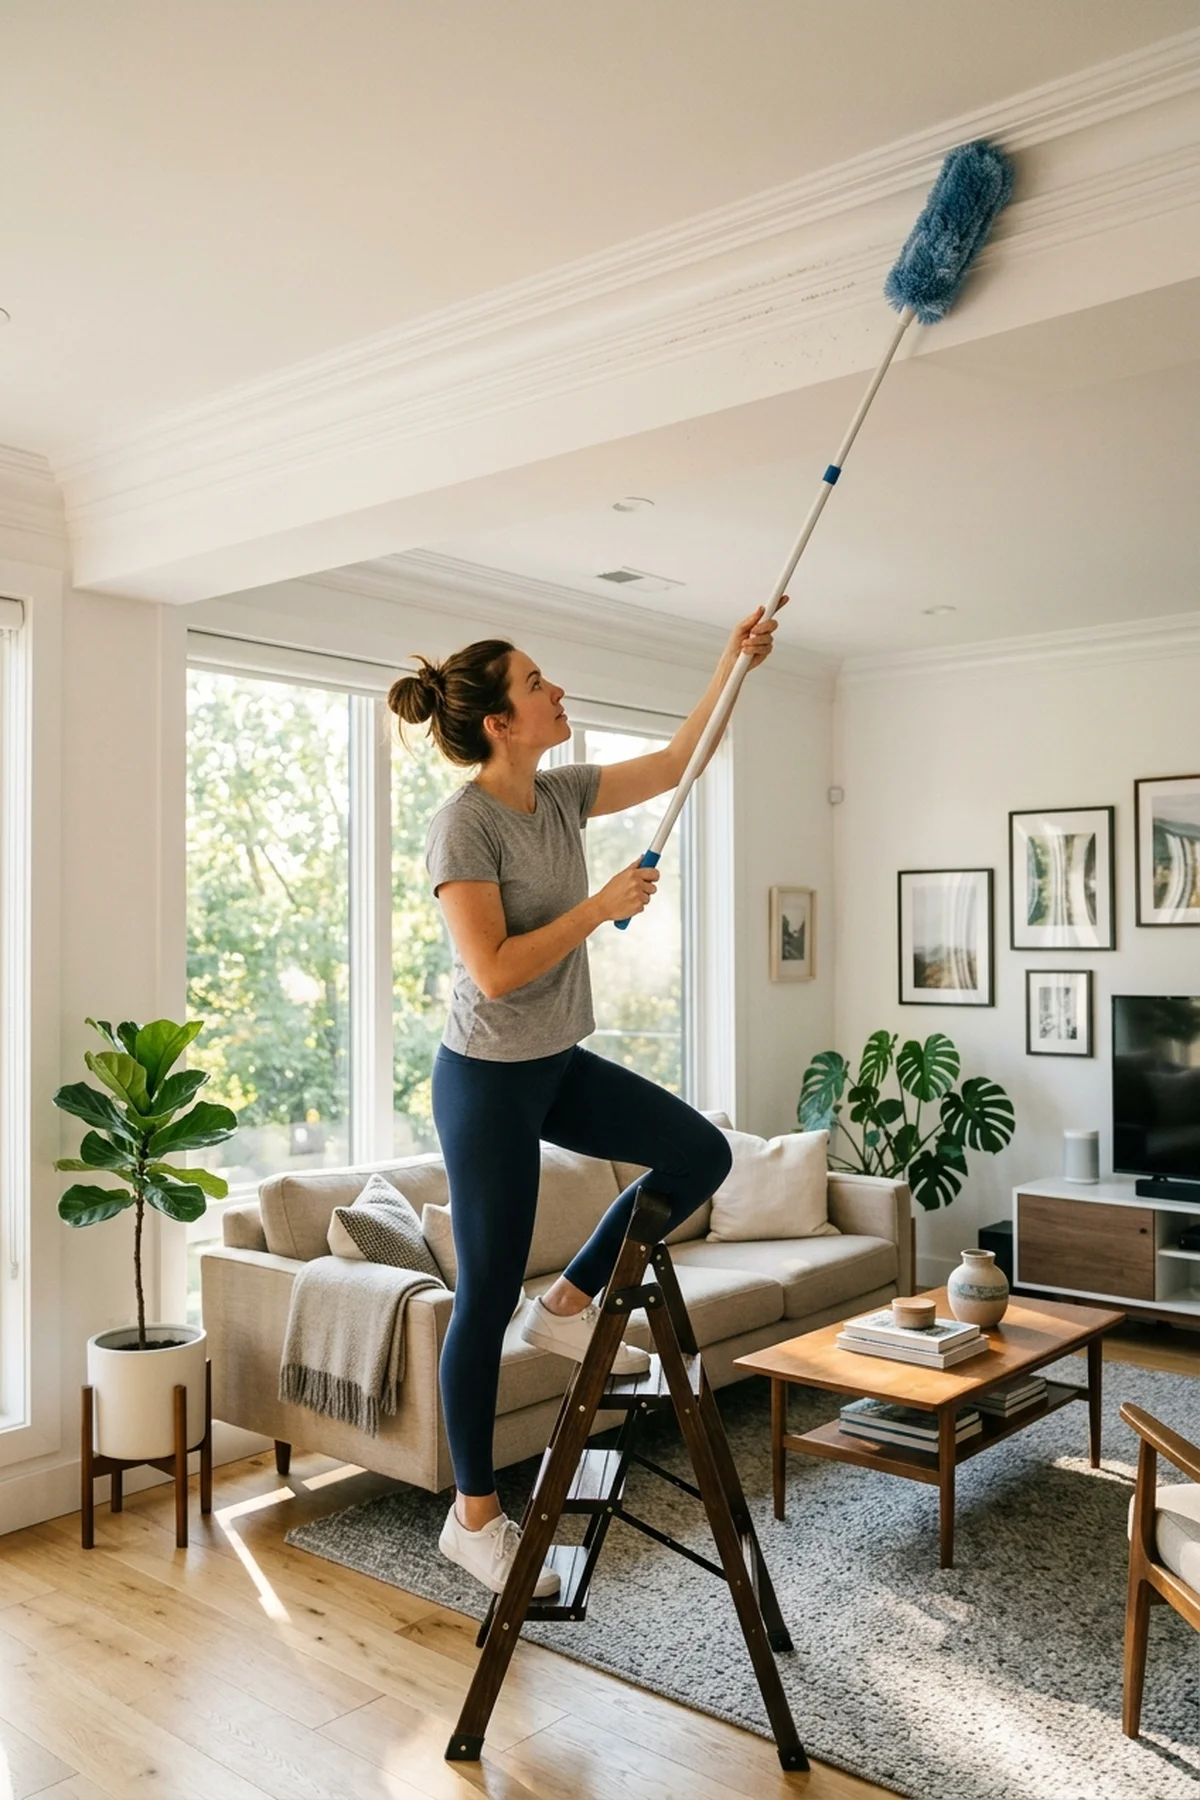
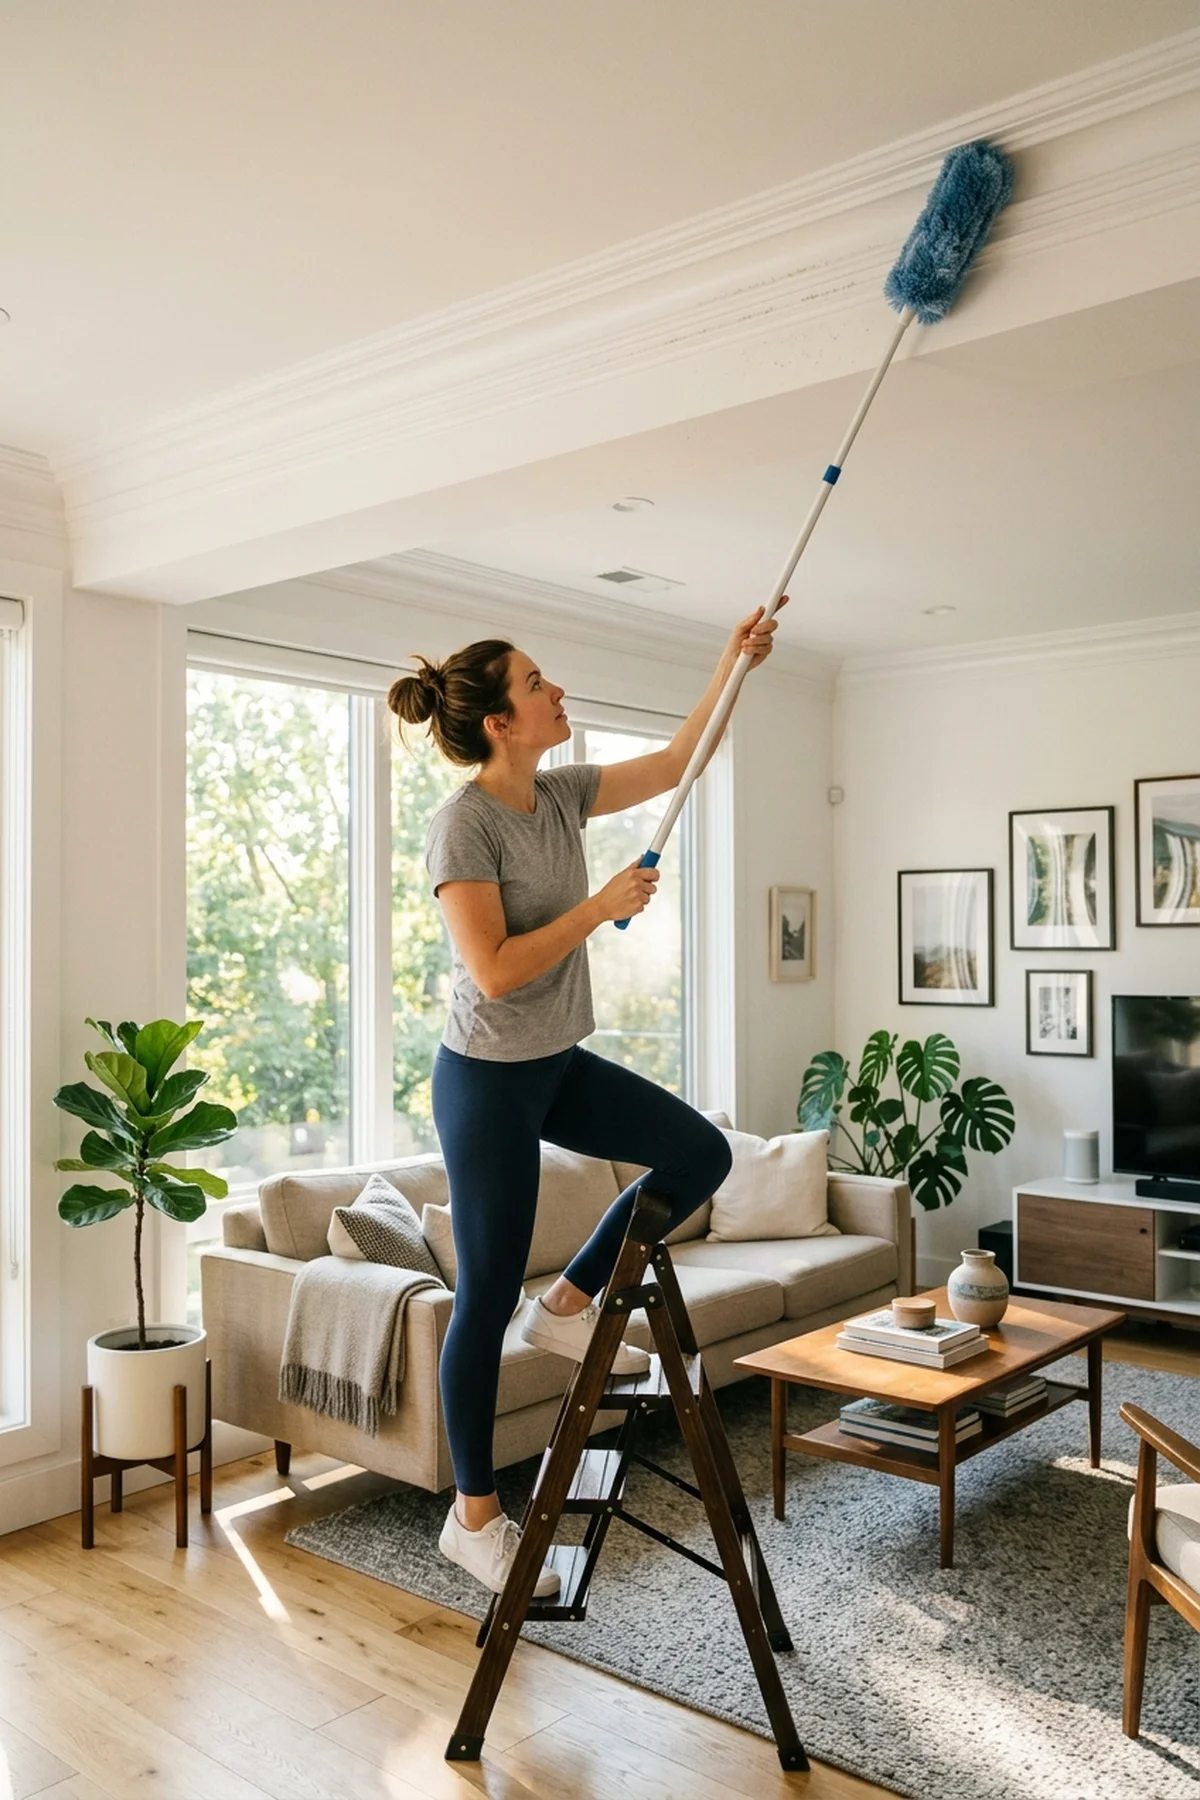
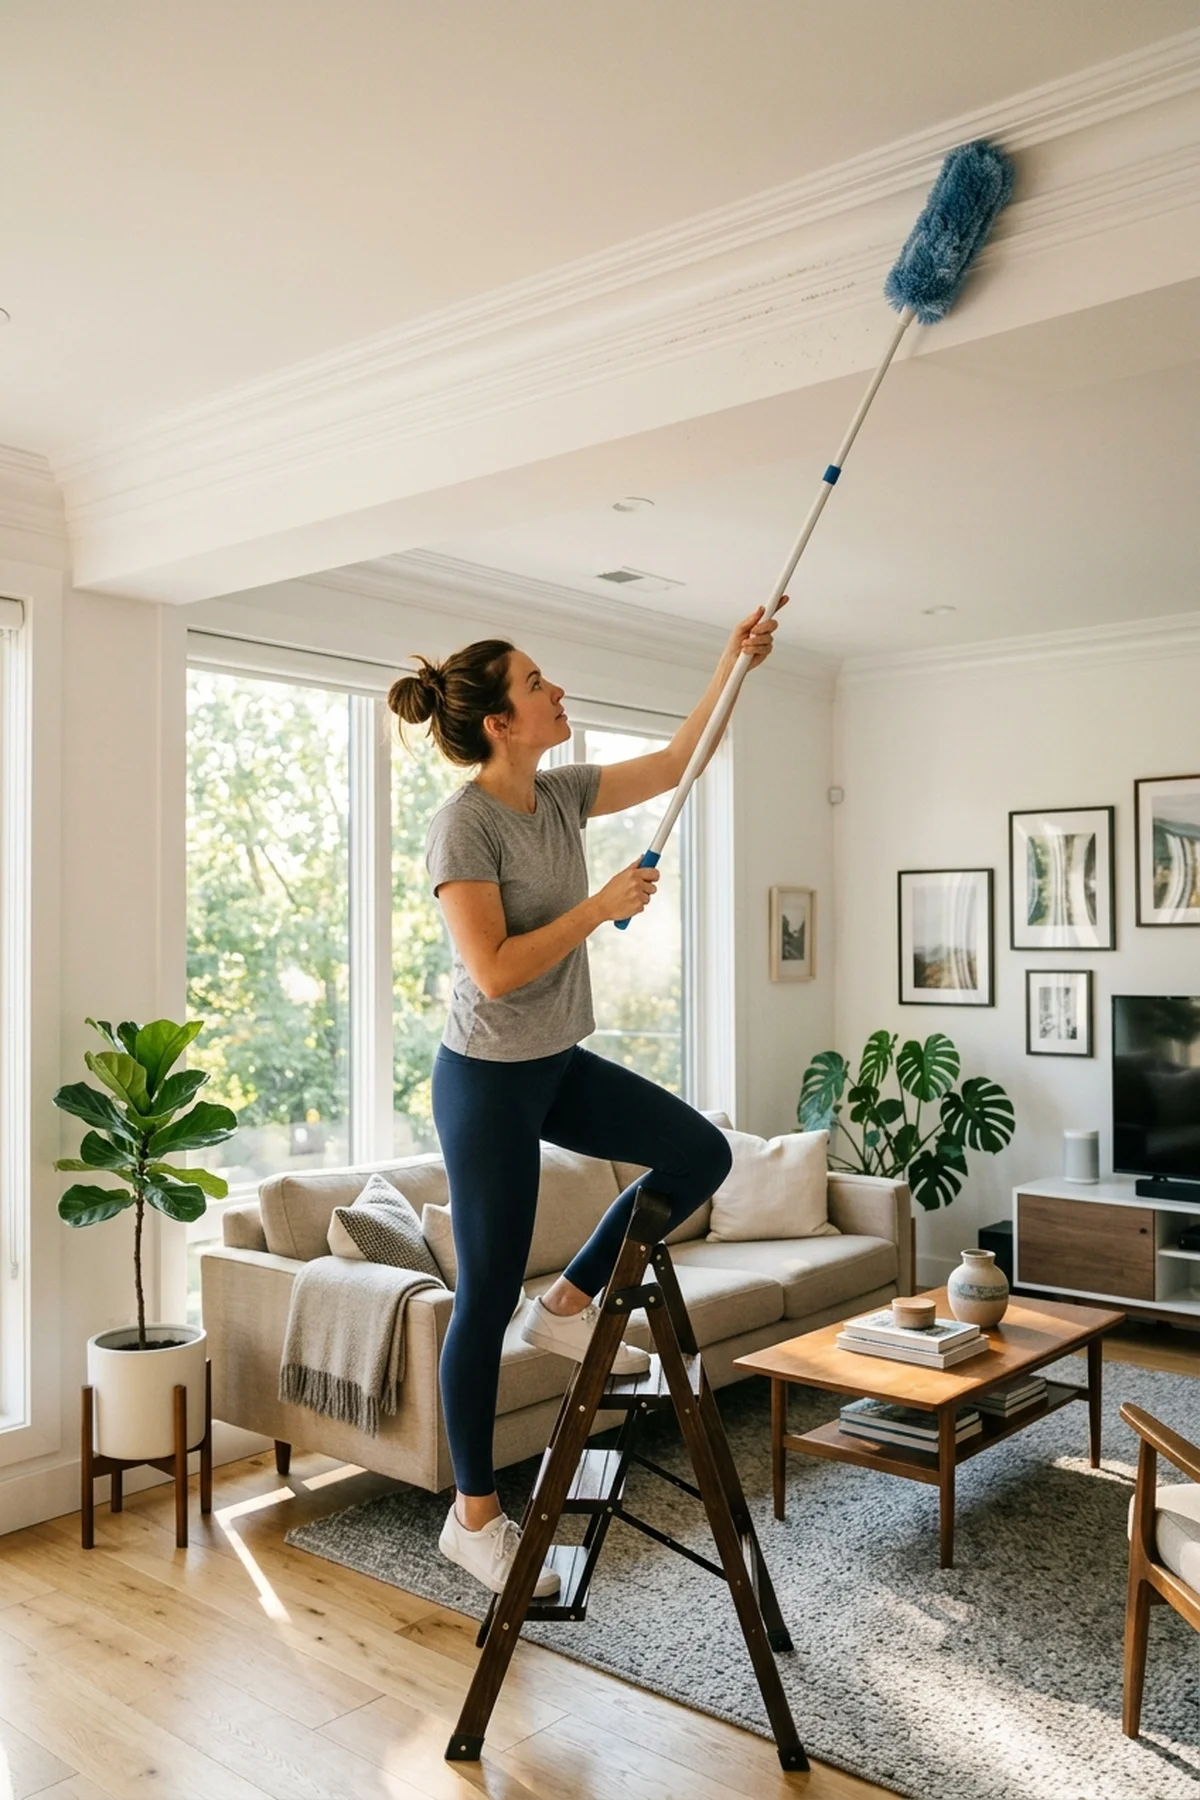
If you want a genuine time-saver for your household chores, mastering the Top-to-Bottom, Dry-Before-Wet Whole-Room Routing is absolutely essential. Start by clearing cobwebs at the ceiling before you even think about grabbing a mop or bucket. This ensures any falling debris lands on surfaces you haven’t yet wiped down, maintaining a continuous downward progression of cleanliness.
Once you finish the dry phase—dusting shelves and sweeping floors—you can safely transition to wet cleaning without creating muddy smears on your baseboards. For instance, when you take the time to clean your AC filter at home efficiently, doing it before wiping your counters prevents airborne dust from ruining your freshly sanitized kitchen island.
By mimicking this professional routine, you eliminate the frustrating cycle of re-cleaning the same areas multiple times. Ultimately, this logical workflow dramatically reduces your workload while delivering a spotless, deeply refreshed environment.
2. Electrostatic S-Pattern Dusting with Split Microfiber Cloths
⏱️ Difficulty: Beginner | 🎯 Best For: Baseboards, delicate shelving & electronics | ✨ Pro Result: Captures 99% of airborne particles without surface swirling
An expert pick for capturing fine allergens is utilizing high-quality 300 GSM Split Microfiber Cleaning Cloths instead of standard feather dusters. These specialized fabrics act like a magnet, relying on Electrostatic Dust Containment & Microfiber S-Pattern Wiping to trap particles deep within their weave rather than just pushing them into the air. Always glide your cloth in a continuous “S” motion to overlap passes and capture every speck of debris.
This method shines particularly well on delicate glass displays, dark wood shelving, and sensitive electronics where loose dust typically resettles within minutes. Since the fibers naturally attract dirt without the need for harsh chemicals, you can maintain a remarkably pristine environment with minimal effort.
Adopting this minimalist approach not only simplifies your cleaning caddy but also significantly improves your indoor air quality. It’s a straightforward technique that guarantees a truly dust-free finish without leaving lint or smudges behind.
3. The Active Dwell-Time Spray Soak for Stubborn Kitchen Stoves
⏱️ Difficulty: Beginner | 🎯 Best For: Baked-on grease splatter & enamel range tops | ✨ Pro Result: Effortless wipe-away removal without abrasive surface scratching
A true hidden gem for tackling baked-on cooking splatters is strictly following an Active Chemical Dwell-Time Saturation Protocol. Far too many homeowners make the critical mistake of Wiping Away Cleaners Immediately Without Observing Surface Dwell Time, which prevents the degreasing agents from properly breaking down the carbonized mess. Spray your solution generously and step away for at least ten minutes to let the chemistry do the hard lifting.
During this waiting period, the surfactants penetrate the hardened grease, turning stubborn burnt spots into a soft, manageable sludge. For heavily neglected areas, you can even sprinkle a layer of Sodium Bicarbonate (Pure Baking Soda) over the liquid to create a gentle, bubbling abrasive that further lifts the grime without scratching your expensive enamel.
This highly effective DIY technique saves you from exhausting physical scrubbing while preserving the pristine finish of your appliances. Ultimately, giving your cleaning products time to work is the secret to a flawlessly restored stovetop.

4. Dawn Platinum Powerwash Degreasing Trick for Burnt Oven Racks
⏱️ Difficulty: Beginner | 🎯 Best For: Heavy carbon buildup & stainless cookware | ✨ Pro Result: Dissolves polymerised oil films in under 15 minutes
If you’re looking for a viral trend alert that actually lives up to the hype, treating your grimy oven grates with Dawn Platinum Powerwash Dish Spray is a total game-changer. The unique foaming action allows the potent degreaser to cling tightly to the intricate metal rungs instead of dripping off, ensuring maximum contact with the polymerized oil films. Simply lay your racks out in the sink or bathtub and coat them thoroughly with the thick foam.
After letting it sit for about fifteen to twenty minutes, the previously impenetrable black crust will effortlessly slide right off with a basic sponge. You can also mix in a splash of Distilled White Vinegar (5% Acidity) to easily cut through any lingering hard water stains or minor rust spots on the stainless steel.
This brilliant DIY shortcut transforms one of the most dreaded kitchen chores into a quick, low-effort task. You’ll achieve sparkling, factory-fresh oven racks without having to rely on toxic, fume-heavy industrial aerosol cleaners.
5. Bar Keepers Friend Polish for Restoring Clouded Stainless Sinks
⏱️ Difficulty: Intermediate | 🎯 Best For: Water-spotted sinks, copper pans & dull cookware | ✨ Pro Result: Mirror-like factory luster and mineral rust removal
An incredible budget swap for expensive metal restorers is utilizing Bar Keepers Friend Cleanser & Polish to bring dull, water-spotted basins back to life. The mildly acidic powder contains oxalic acid, which easily melts away stubborn calcium deposits, hard water stains, and microscopic rust blooms that regular dish soap simply cannot touch. Apply the powder onto a damp surface and gently rub it in following the natural grain of the metal.
As you work the polish into a light paste, it gently lifts oxidation and buffs out minor superficial scratches, revealing a brilliant, mirror-like shine beneath the grime. It is equally fantastic for reviving neglected copper-bottomed pans and cloudy stainless steel pots that have lost their luster over years of heavy cooking.
By incorporating this professional-grade secret into your routine, you can maintain a stunningly bright kitchen sink for just a few dollars. It is an incredibly rewarding maintenance step that dramatically elevates the entire look of your culinary space.

6. Heavy-Duty Pumice Stone Technique for Porcelain Toilet Rust Rings
⏱️ Difficulty: Intermediate | 🎯 Best For: Decades-old mineral scales & hard water toilet bowls | ✨ Pro Result: Scratch-free eradication of calcified yellow-brown deposits
As an expert pick for tackling stubborn bathroom stains, the Pumie Heavy-Duty Toilet Scouring Stick is an absolute game-changer. Hard water can leave unsightly rust rings and calcified yellow-brown deposits inside your toilet bowl that standard liquid cleaners simply cannot remove. Instead of relying on harsh chemicals that barely make a dent, a pumice stone physically grinds away the scale without damaging the porcelain surface.
To use this technique effectively, ensure both the stone and the toilet bowl surface remain wet at all times, as a dry pumice can cause scratching. Gently rub the stone over the rust rings, and you will notice it forming a paste that helps polish the bowl as it lifts away decades-old mineral scales. This simple mechanical action provides a scratch-free eradication of stains, leaving your toilet looking brand new in minutes.
If you prefer a DIY approach to home maintenance, keeping a dedicated pumice stone for bathroom duties is highly recommended. Not only does it save you from buying expensive specialty cleaners, but it also provides immediate, satisfying results for even the toughest hard water marks.
7. The Food-Grade Citric Acid Descaling Soak for Electric Kettles & Coffee Makers
⏱️ Difficulty: Beginner | 🎯 Best For: Small kitchen appliances & aerators | ✨ Pro Result: Odorless, fast-acting calcium scale dissolution
When dealing with limescale in small kitchen appliances, this beginner friendly hack using Food-Grade Citric Acid Crystals is incredibly effective. Over time, coffee makers and electric kettles build up calcium scale that affects both their performance and the taste of your beverages. Unlike vinegar, which leaves a lingering odor, citric acid provides an odorless, fast-acting calcium scale dissolution.
Simply dissolve one to two tablespoons of the crystals into a full reservoir of water and run your appliance through a normal heating cycle, letting it soak for about fifteen minutes before rinsing thoroughly. It is important to note that while acidic solutions are great for descaling appliances, you must avoid Applying Vinegar or Citrus Cleaners to Natural Marble and Granite countertops nearby, as they can cause permanent etching. Always wipe up any accidental spills immediately.
Embracing a minimalist cleaning philosophy means finding versatile ingredients that replace single-use commercial products. Using food-grade citric acid not only keeps your favorite morning appliances running smoothly but also ensures a pure, untainted flavor in every cup.
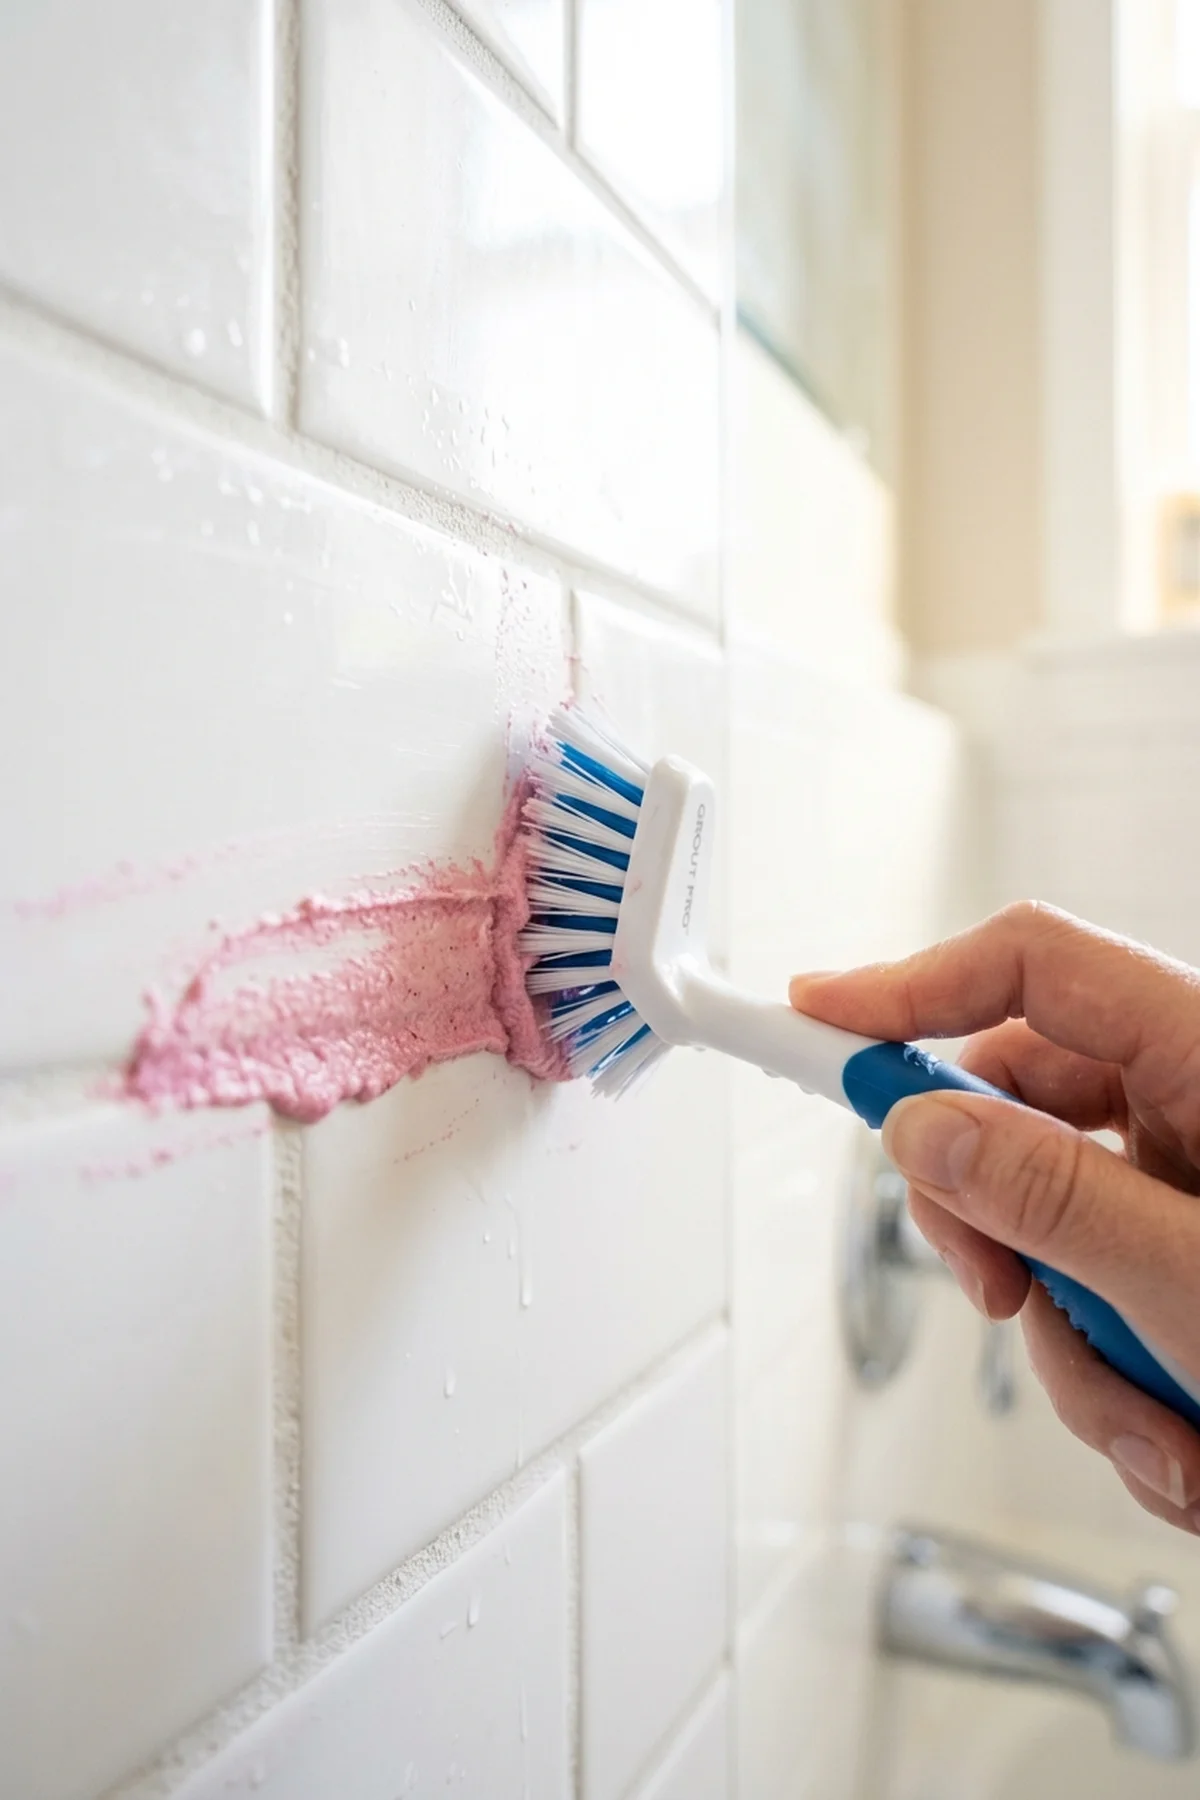
8. Narrow V-Shaped Grout Crevice Brushing with Hydrogen Peroxide Bleach
⏱️ Difficulty: Intermediate | 🎯 Best For: Shower tile joints & discolored kitchen floor grout | ✨ Pro Result: Restores bright white grout without acidic tile erosion
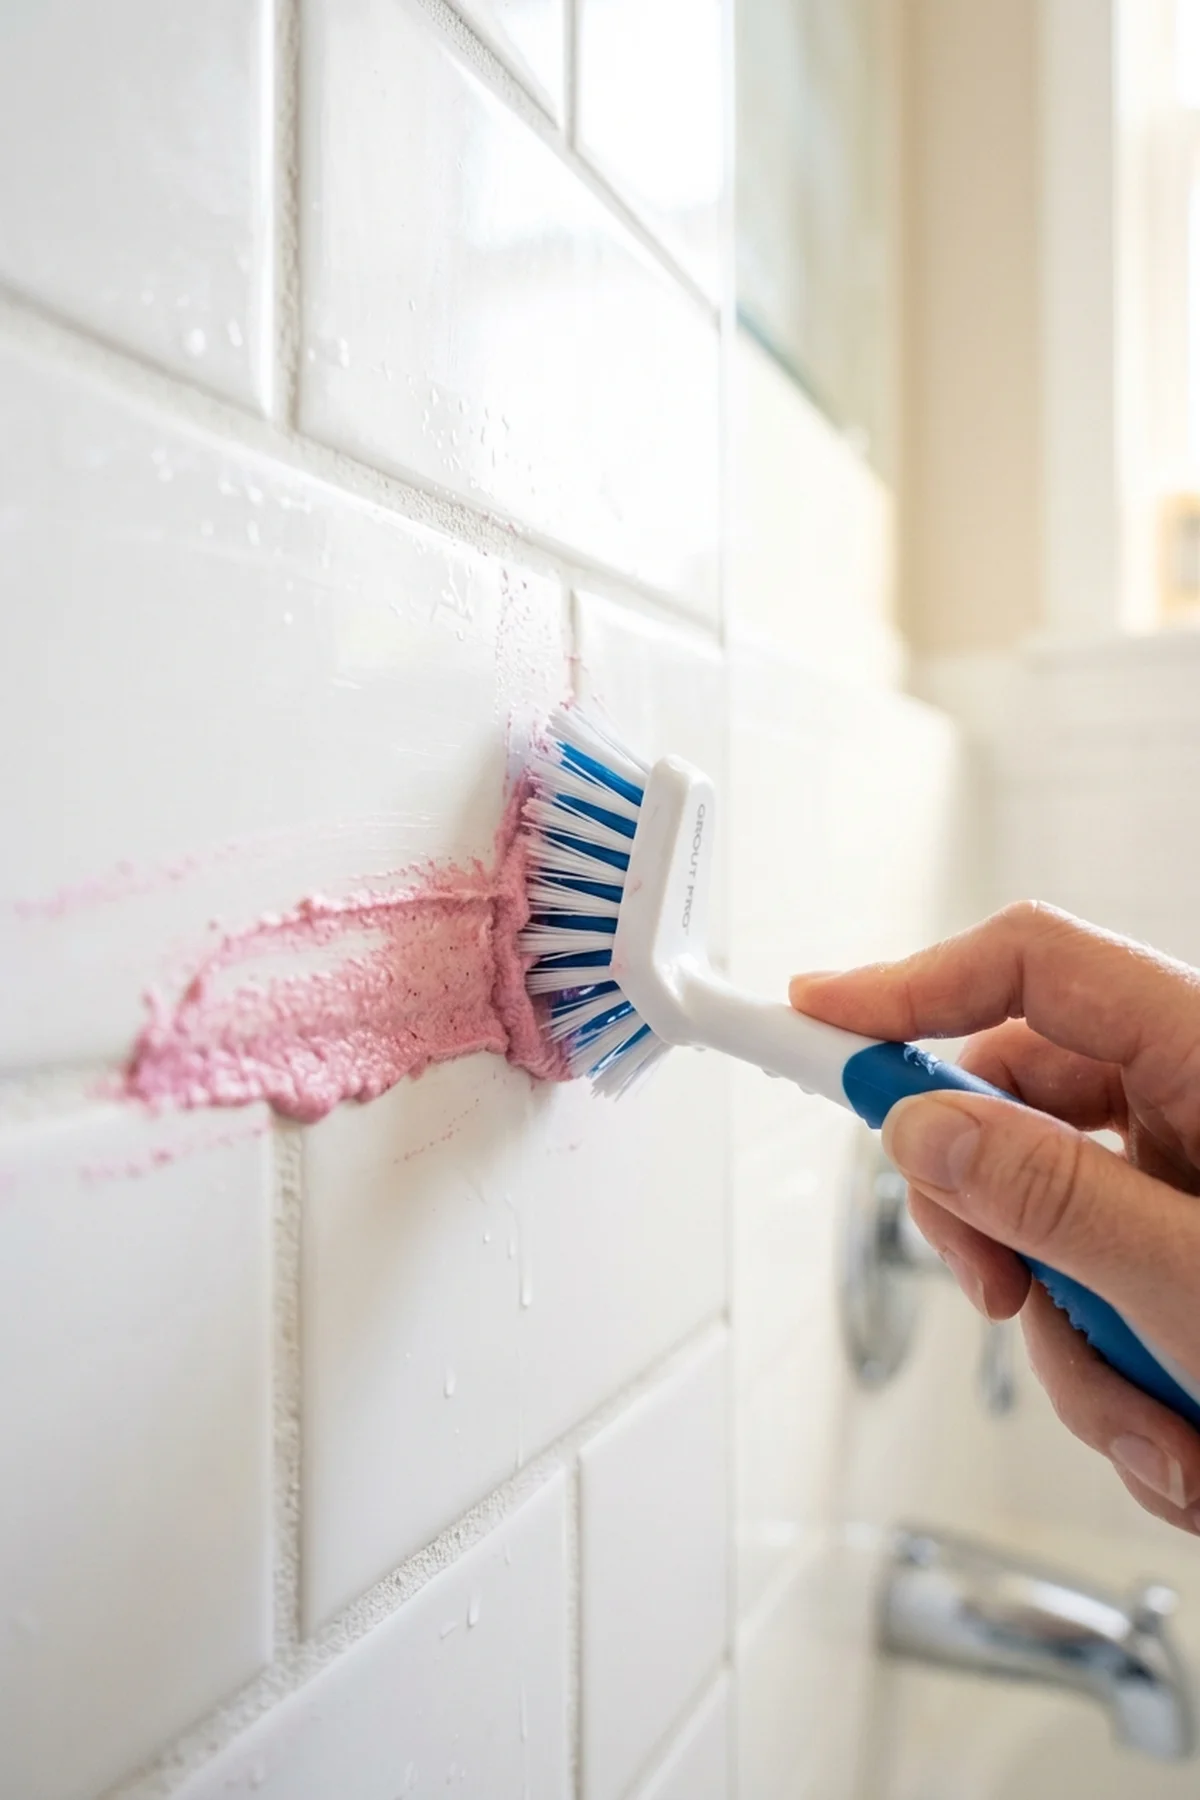
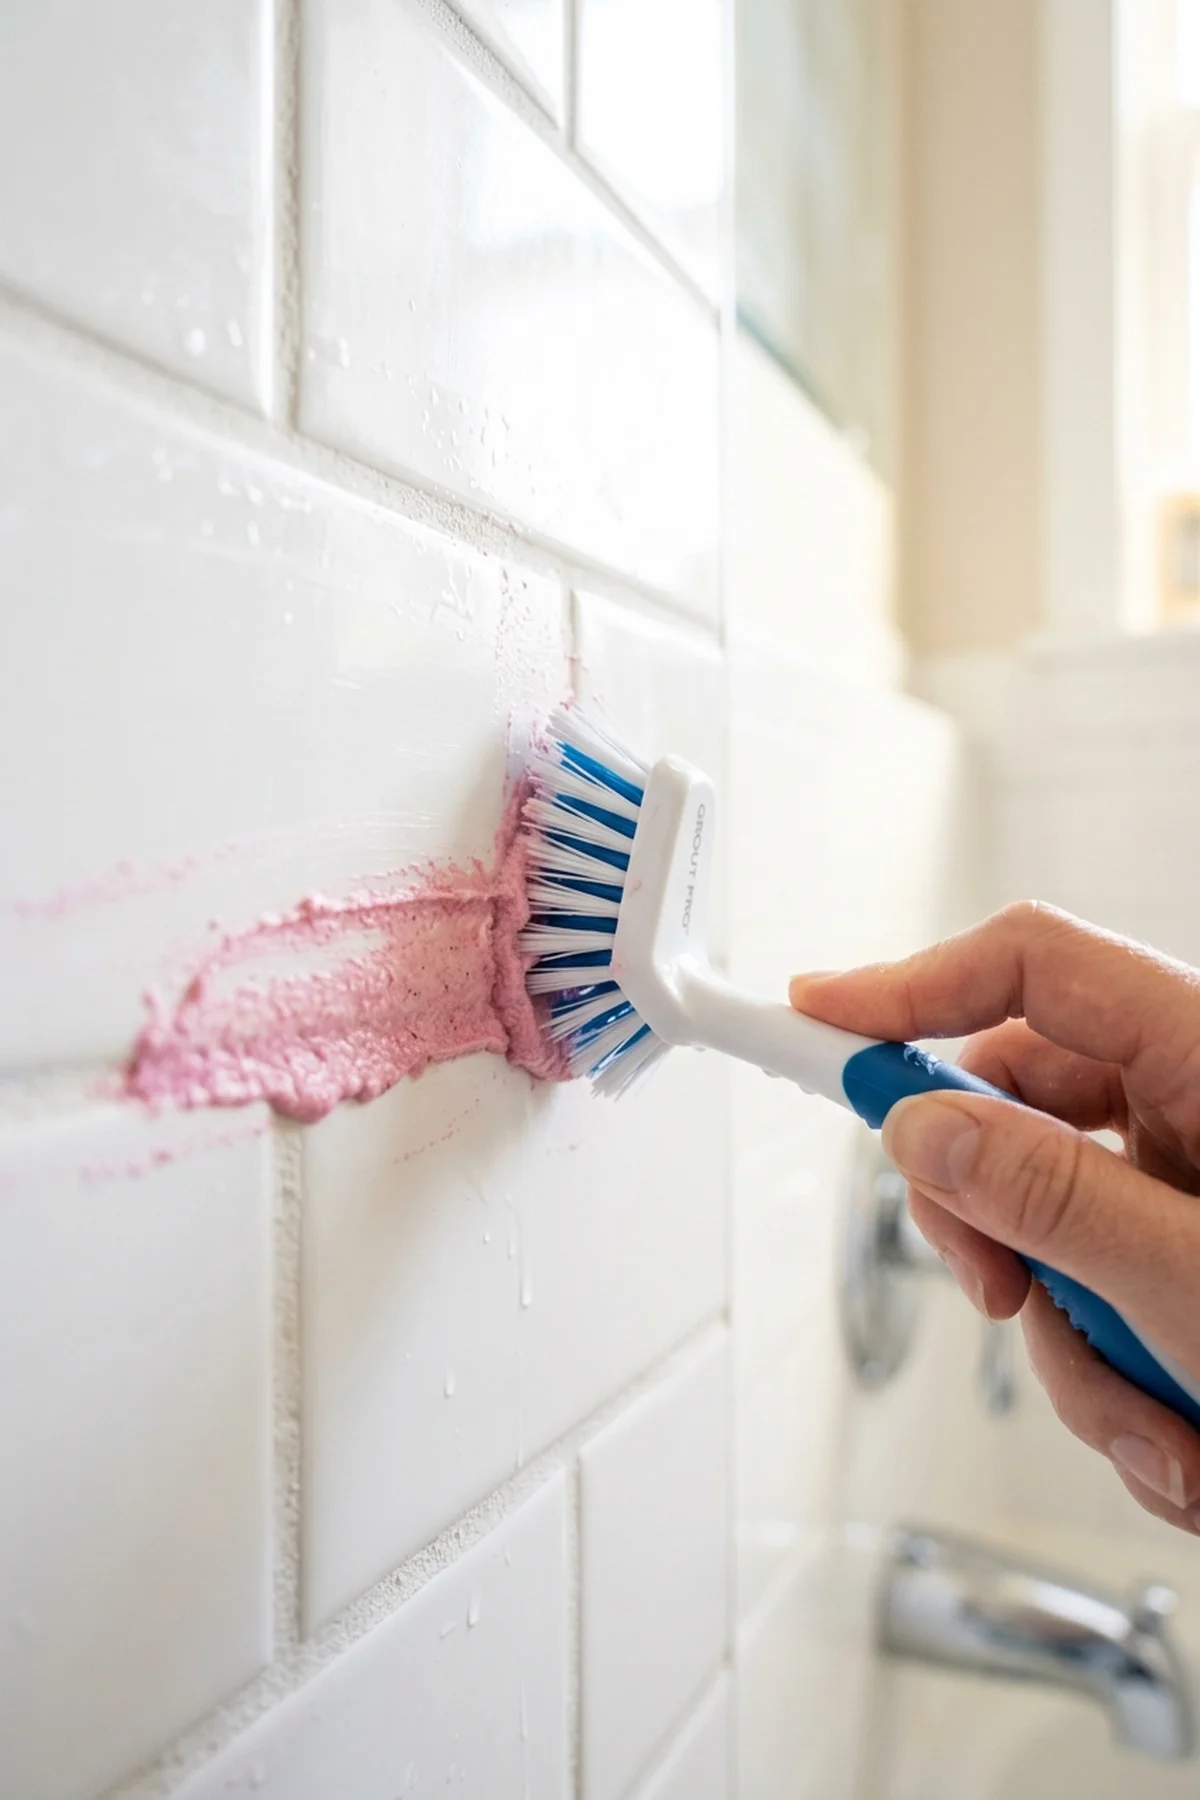
If you need a genuine time-saver for discolored kitchen floor grout and shower tile joints, look no further than this powerful combination. Start by applying a generous amount of 3% Pharmaceutical Hydrogen Peroxide directly to the grout lines and let it bubble as it attacks deep-set mold and grime. Pair this with a Narrow V-Shaped Tile Grout Crevice Brush to easily agitate the solution into the tightest spaces without fraying the bristles.
This method restores bright white grout without the acidic tile erosion commonly associated with harsh chemical cleaners. Unlike riskier alternatives, this approach is entirely safe and ensures you avoid dangerous mistakes like Mixing Chlorine Bleach with Acidic Vinegar (Releases Toxic Gas). The peroxide naturally lightens stains while the specialized brush does all the heavy lifting, saving your hands and knees.
Applying this professional technique will make your floors look newly installed with minimal effort. While your grout is soaking, you can efficiently tackle other household maintenance, like learning how to clean your AC filter efficiently to keep your entire home feeling remarkably fresh.

9. Dual-Action Silicone Squeegee Glide for Streak-Free Shower Glass
⏱️ Difficulty: Beginner | 🎯 Best For: Glass shower enclosures & oversized vanity mirrors | ✨ Pro Result: Zero water spots and eliminated soap scum formation
Maintaining spotless glass shower enclosures does not require expensive sprays when you use a simple budget swap like the Dual-Action Silicone Glass Squeegee. Hard water droplets quickly dry into stubborn mineral spots and accelerate soap scum formation if left unattended. Keeping a squeegee inside your shower allows you to effortlessly glide the water away immediately after turning off the water.
The flexible silicone blade conforms perfectly to the glass surface, pulling away moisture in a single pass to guarantee zero water spots. Unlike traditional rubber blades that can degrade or leave black streaks over time, silicone provides a smooth, consistent edge that lasts for years. A quick wipe-down prevents the buildup that would otherwise require heavy scrubbing later on.
This minimalist habit transforms a daunting chore into a quick, ten-second daily routine. Consistently removing the water before it can evaporate is the ultimate secret to permanently streak-free shower glass.
10. Baking Soda & Vinegar Reaction Rules: Avoiding Ineffective Neutralization
⏱️ Difficulty: Beginner | 🎯 Best For: Drain deodorizing & paste scrubbing mechanics | ✨ Pro Result: Maximizes mechanical agitation before chemical neutralization
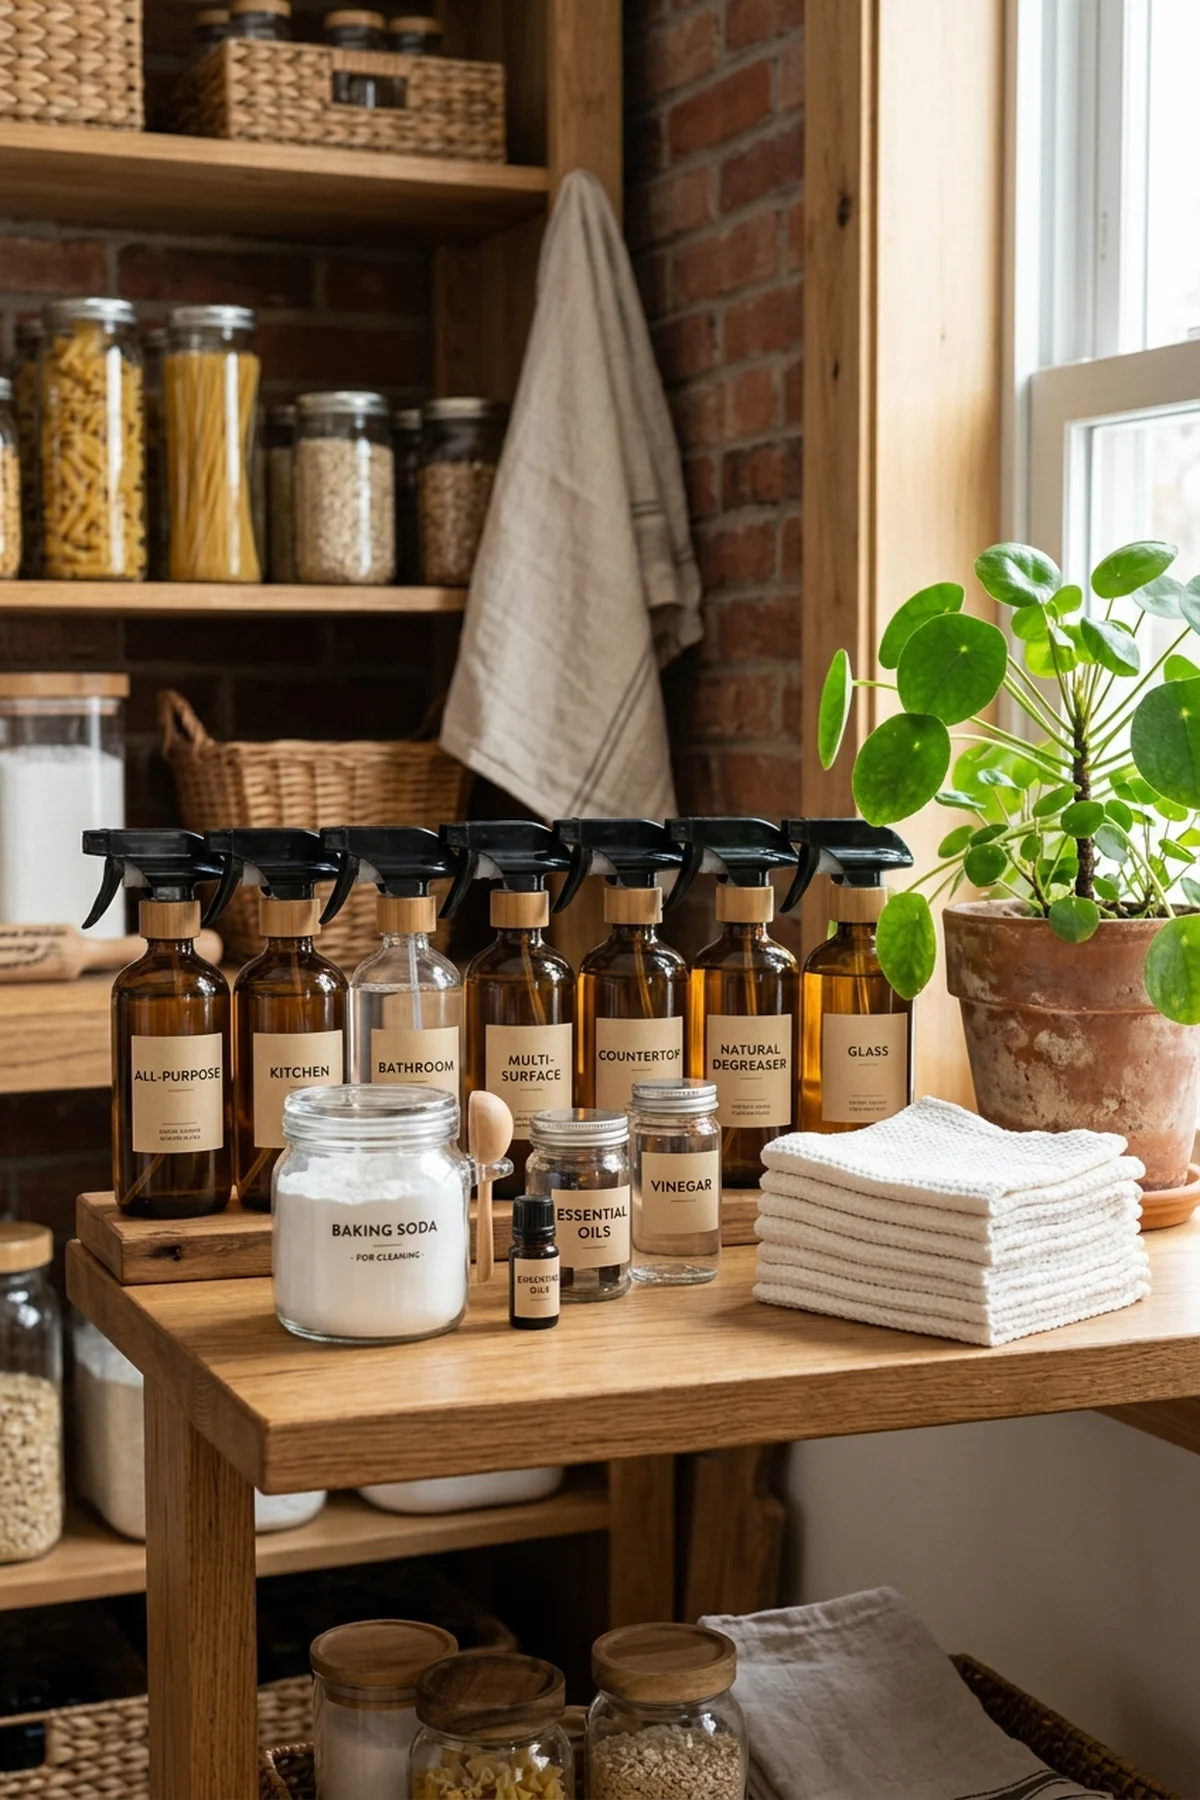
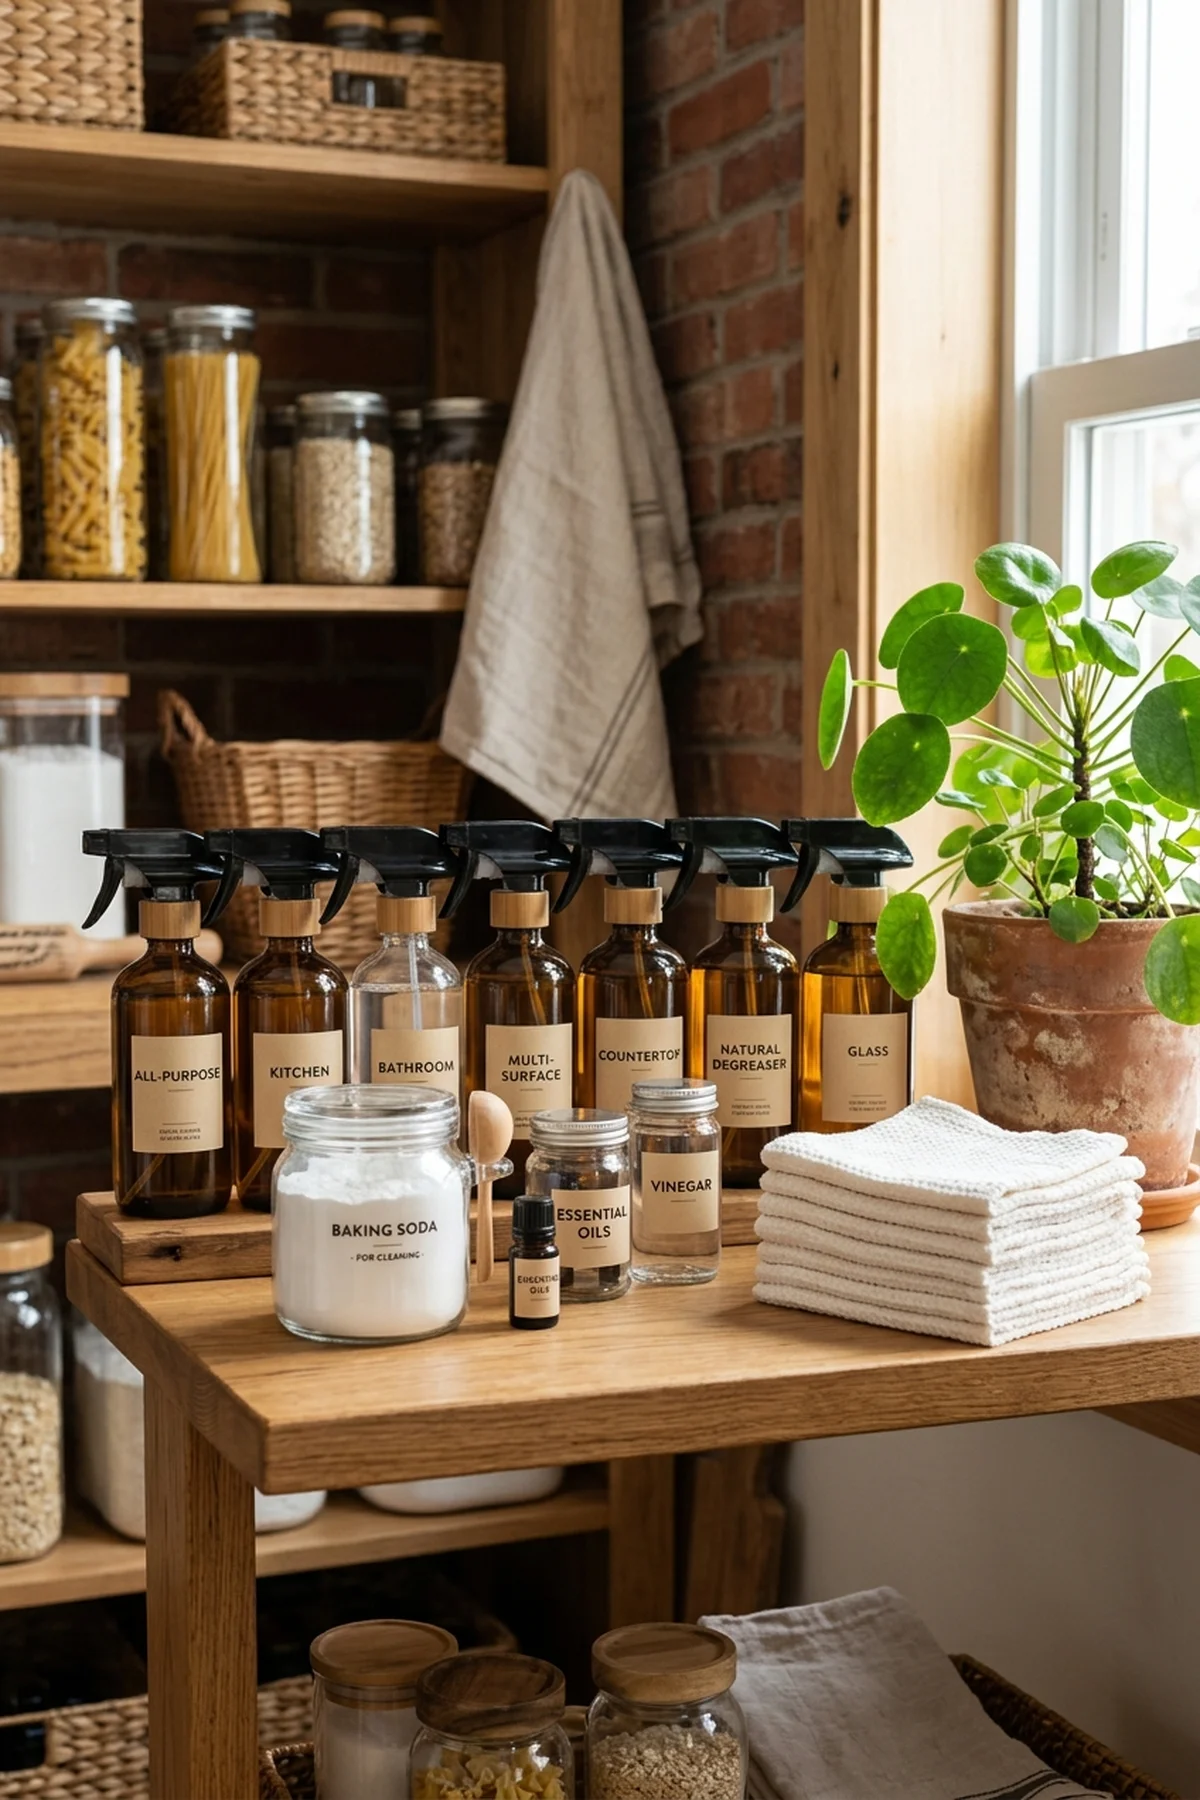
One of the most misunderstood yet popular cleaning methods is the combination of Sodium Bicarbonate (Pure Baking Soda) and Distilled White Vinegar (5% Acidity). While many view this bubbling reaction as a powerful cleaner, this hidden gem of knowledge reveals that mixing them immediately simply yields saltwater and carbon dioxide. To truly benefit from these ingredients, you must maximize mechanical agitation before chemical neutralization occurs.
Instead of mixing them in a bowl, first apply the baking soda as an abrasive paste to scrub away grime, grease, or stuck-on food. Once you have physically lifted the dirt with the abrasive powder, spray the vinegar over the area to create the bubbling reaction that helps lift the loosened debris away for an easy rinse. This two-step process is incredibly effective for drain deodorizing and stubborn sink stains.
Mastering this DIY chemistry trick ensures you actually harness the cleaning power of both ingredients rather than neutralizing them prematurely. Understanding the sequence of application will dramatically improve the effectiveness of your natural cleaning arsenal.

11. Safe Stone Cleaning: Preventing Acid Etching on Marble and Granite
⏱️ Difficulty: Beginner | 🎯 Best For: Natural marble islands, granite countertops & travertine floors | ✨ Pro Result: Preserves stone sealant integrity and prevents cloudy micro-etching
An absolute Expert Pick for protecting high-end kitchen surfaces is avoiding the fatal mistake of Applying Vinegar or Citrus Cleaners to Natural Marble and Granite. These acidic solutions chemically react with the calcium carbonate in natural stone, instantly destroying the protective sealant and leaving permanent, cloudy etch marks that require professional repolishing to fix.
Instead of harsh acids, you need a pH-neutral solution that gently lifts daily grease and food spills without stripping the stone’s natural luster. Diluting just a few drops of Dr. Bronner’s Pure Castile Liquid Soap in a spray bottle filled with warm water creates the perfect daily cleaner. Simply mist the surface lightly and wipe it dry with a soft microfiber cloth to prevent water spots from forming.
This Professional maintenance routine ensures your expensive natural stone countertops retain their mirror-like finish for decades. By keeping your cleaning solutions strictly pH-neutral, you completely eliminate the risk of accidental chemical damage while maintaining a perfectly sanitary food preparation area.
12. Chemical Safety Rule: Never Combine Chlorine Bleach with Vinegar
⏱️ Difficulty: Beginner | 🎯 Best For: Household disinfection safety & chemical storage | ✨ Pro Result: 100% prevention of hazardous chlorine gas formation
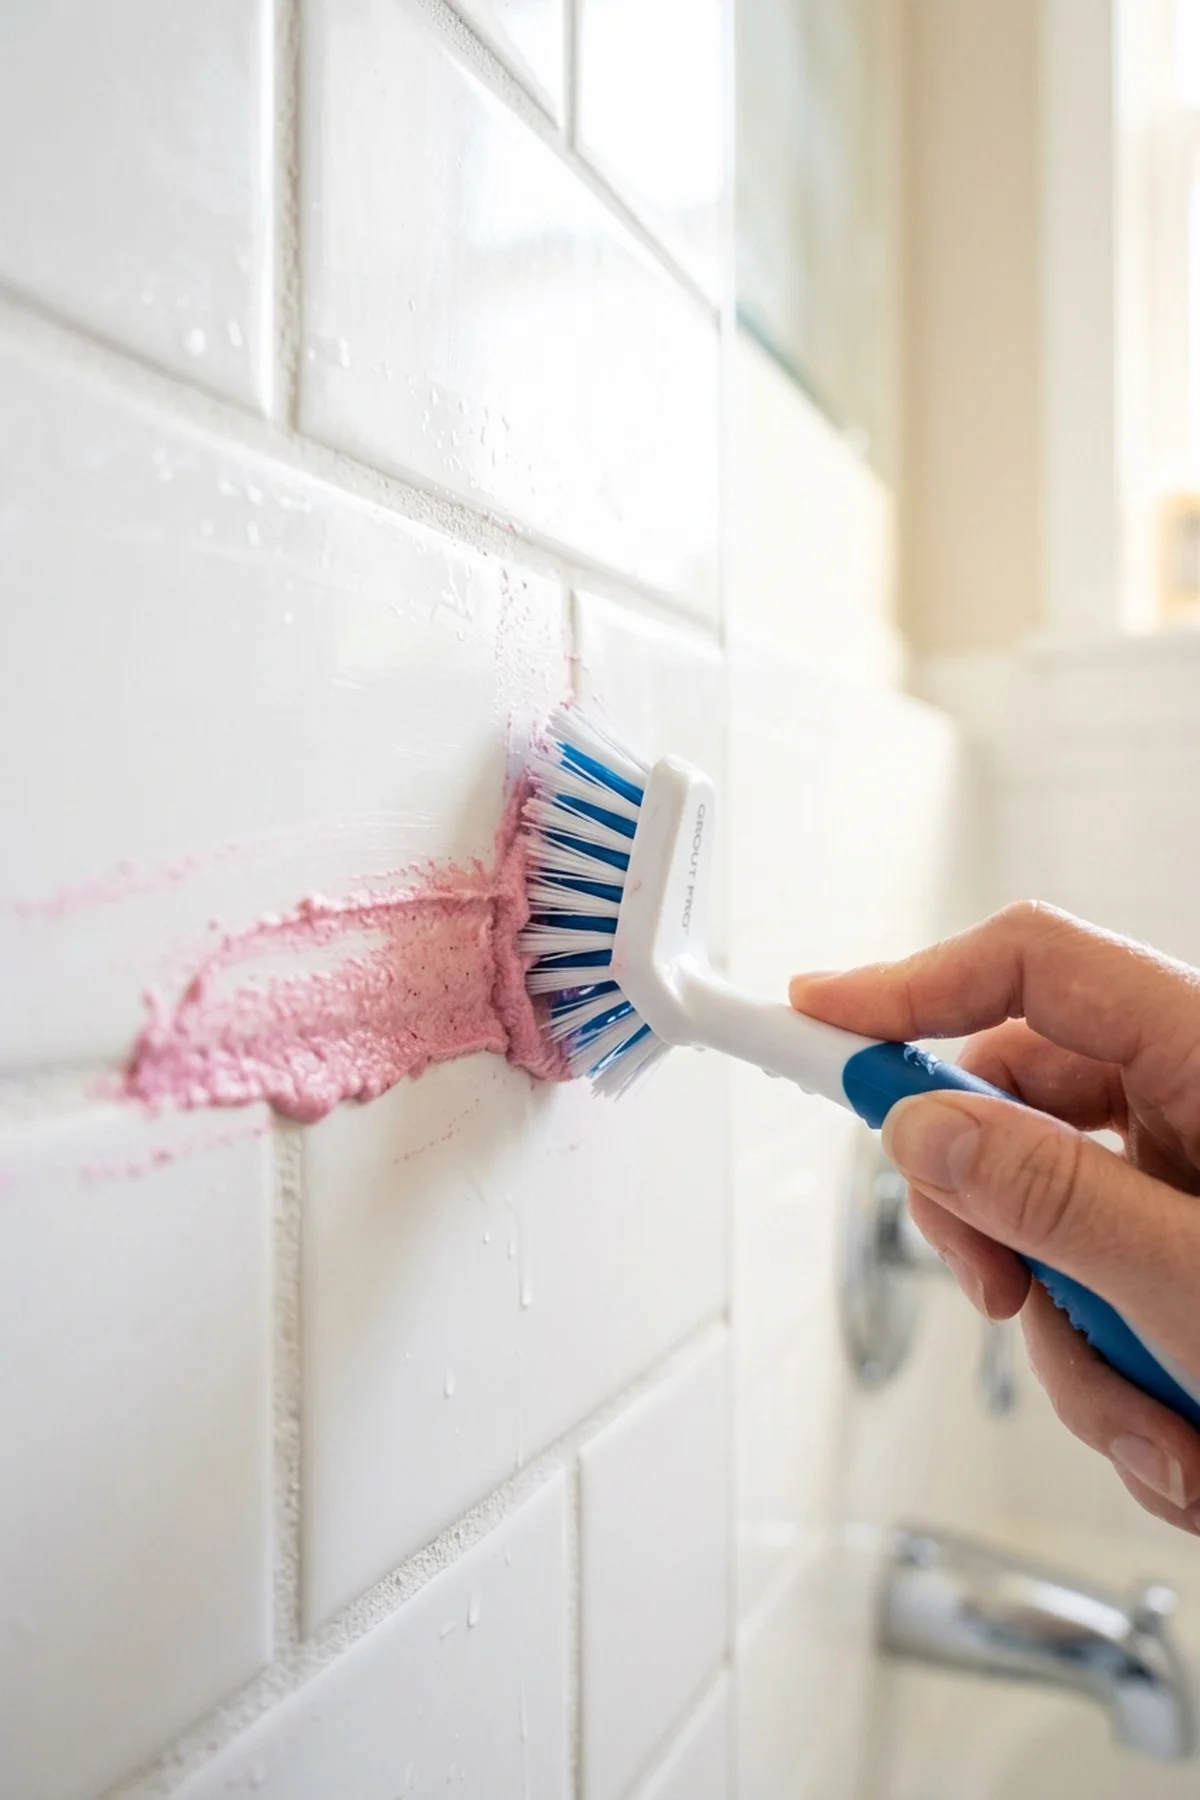
This is a Beginner Friendly safety protocol that every household must strictly follow: the absolute danger of Mixing Chlorine Bleach with Acidic Vinegar (Releases Toxic Gas). While both are excellent cleaning agents on their own, combining them causes an immediate chemical reaction that produces highly toxic chlorine gas, which can cause severe respiratory distress and chemical burns to your lungs.
If you are tackling severe bathroom mold and need strong disinfection, always choose one chemical path and stick to it, ensuring you thoroughly rinse the surface with plain water before ever applying a different cleaner. For instance, if you are reading up on Pro Hacks: How to Clean a Stained Mattress at Home for Fresh Sleep, you will notice that chemical safety and proper ventilation are always prioritized over mixing random household products.
A Professional cleaning service will always color-code or separate their acid-based cleaners from their bleach-based disinfectants to prevent accidental mixing in the bucket. Understanding fundamental chemical safety ensures you can effectively sanitize your home without inadvertently creating a hazardous environment for your family and pets.
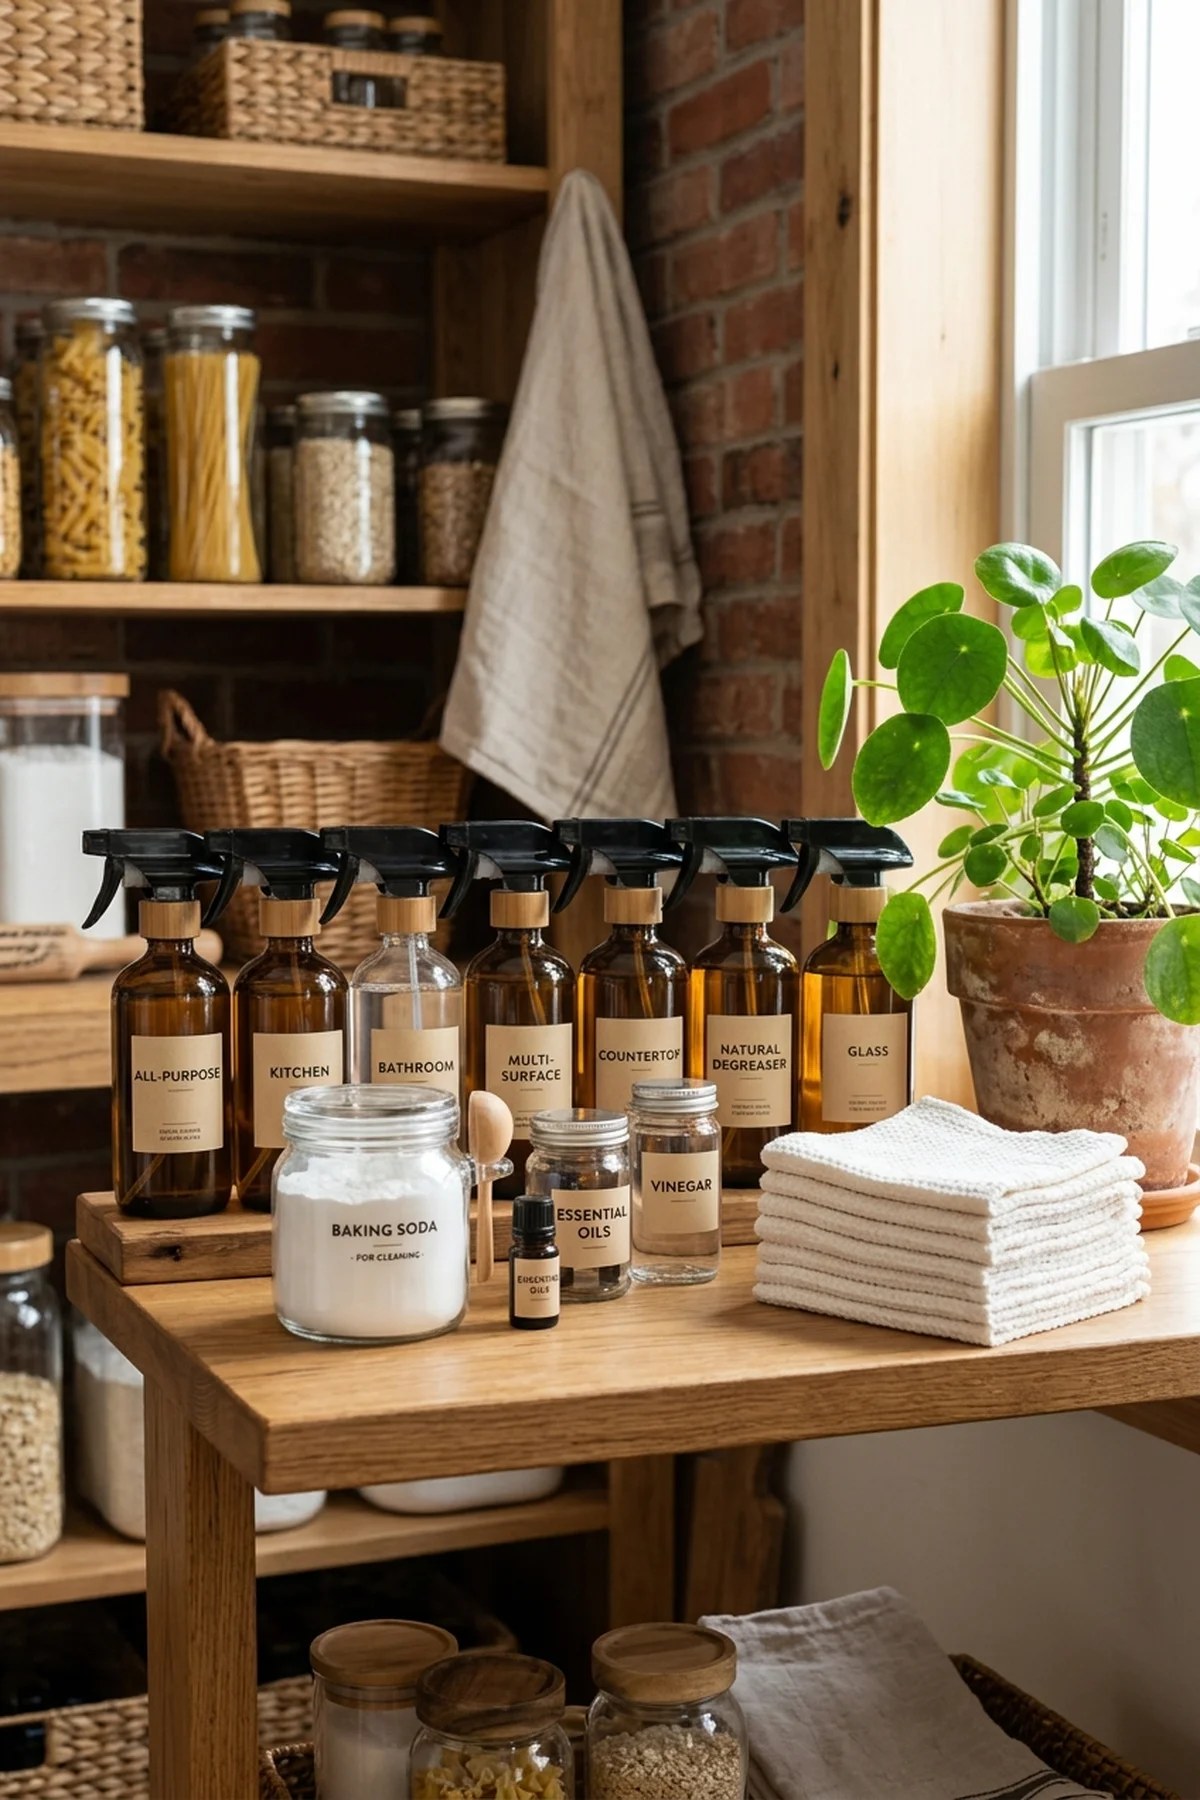
13. The Pink Stuff Miracle Paste for Cast Iron & Glass Stovetop Scorch Marks
⏱️ Difficulty: Intermediate | 🎯 Best For: Ceramic glass stovetops, enamel dutch ovens & tile edges | ✨ Pro Result: Lifts stubborn grease rings without micro-scratching glass
A major Trend Alert in the detailing community is using The Pink Stuff Miracle Cleaning Paste to effortlessly restore neglected cooking surfaces. This mildly abrasive paste is uniquely formulated to break down polymerized grease rings on delicate ceramic glass stovetops without leaving the micro-scratches that harsh scouring powders usually cause.
Apply a small dollop of the paste directly onto the burnt scorch mark, using a soft sponge to work it in gentle, circular motions until the carbonized residue begins to lift. For extremely stubborn baked-on spills that resist the paste, you might occasionally need the targeted heat of a Handheld High-Pressure Steam Cleaner to soften the hardened sugar before wiping it completely away.
This satisfying DIY restoration technique brings expensive cookware and modern stovetops back to a factory-new shine with minimal elbow grease. Always remember to buff the area with a clean, damp cloth afterward to remove any chalky residue, leaving a streak-free, brilliant finish.

14. Heavy-Duty Pumice Grill Stone for Burnt Barbecue Grates
⏱️ Difficulty: Intermediate | 🎯 Best For: Cast iron grill grates & outdoor smoker racks | ✨ Pro Result: Strips charred sauce and grease without wire bristle hazard
An essential Budget Swap for outdoor cooking enthusiasts is replacing dangerous wire brushes with a Heavy-Duty Pumice Grill & Oven Stone. Traditional wire brushes can shed sharp metal bristles that get ingested, but a natural pumice stone safely grinds away thick layers of charred barbecue sauce and carbonized meat without any risk of dangerous debris.
To use this effectively, ensure the grill grates are slightly warm, then aggressively scrub the stone back and forth along the metal rungs; the stone will naturally shape itself to the exact contours of your specific grill. Once you have removed the heavy buildup, wipe the grates down thoroughly with a damp cloth or oiled paper towel to pick up the residual pumice dust.
This Seasonal maintenance secret guarantees your outdoor smoker and grill remain deeply sanitized and ready for your next backyard cookout. The natural abrasiveness of the pumice effortlessly conquers the toughest baked-on grime, extending the lifespan of your cast iron grates dramatically.
15. Melamine Foam Eraser Hacks for Scuffed Baseboards & Wall Trim
⏱️ Difficulty: Beginner | 🎯 Best For: Door jambs, painted trim & sneaker scuff marks | ✨ Pro Result: Invisible micro-abrasive spot removal without repainting
A brilliant Time-Saver for touching up high-traffic hallways is utilizing Melamine Foam Eraser Sponges to instantly erase black sneaker scuffs from painted baseboards. These microscopic abrasive sponges act like ultra-fine sandpaper, gently shaving away the topmost layer of dirt and transferred rubber without requiring any harsh chemical solvents.
Simply dampen the sponge slightly with water, squeeze out the excess moisture, and lightly buff the scuff mark until it completely vanishes from the white trim. Be careful not to scrub too aggressively, much like avoiding the mistake of Aggressively Scrubbing Carpet Stains Instead of Blotting (Friction Fraying), as pressing too hard can dull the paint’s glossy finish over time.
This Minimalist approach to home maintenance saves you from the tedious chore of color-matching and repainting damaged door jambs and wall trims. Keeping a melamine sponge handy allows you to quickly spot-clean your home’s architectural details, maintaining a pristine, freshly painted appearance year-round.

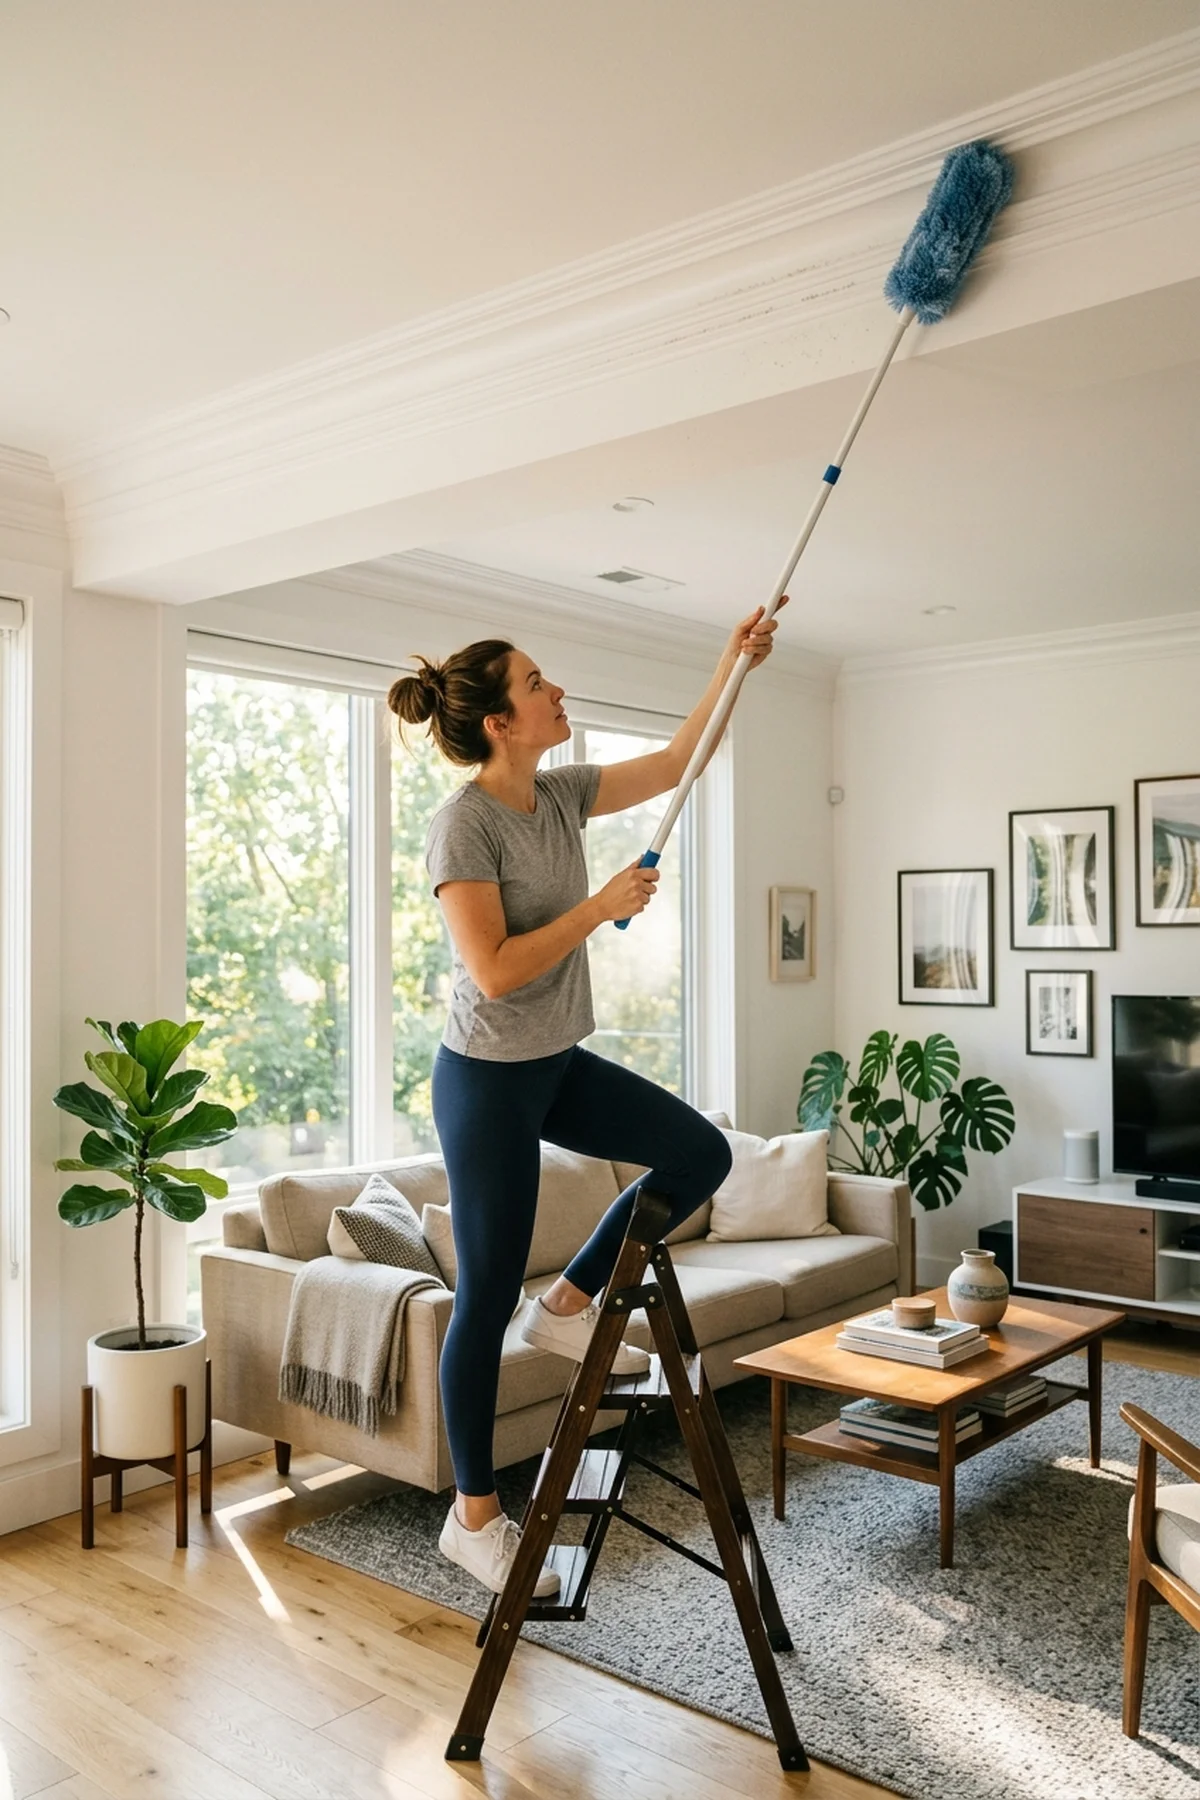
16. Blind & HVAC Vent Dusting with Microfiber Wand Attachment
⏱️ Difficulty: Beginner | 🎯 Best For: Plantation shutters, return air grilles & ceiling fans | ✨ Pro Result: Traps allergens statically instead of throwing dust into living areas
Dusting high or slotted surfaces doesn’t have to be a dreaded chore if you use the right tool, turning a complex job into a surprising hidden gem of a routine. Instead of relying on traditional feather dusters that merely push allergens around the room, professionals use a Microfiber Blind & Vent Duster Wand. This specialized tool slides seamlessly between slats and grates, grabbing onto fine dust particles like a magnet so you can rapidly move through the house without worrying about a lingering cloud of debris.
For optimal results, ensure your wand is completely dry and free from any residue before you begin. One critical mistake people make is Washing Microfiber Cloths with Fabric Softeners (Clogs Static Fibers), which completely ruins their electrostatic properties. Keep the wand clean and free of additives, and it will effortlessly grab seasonal allergens from return air grilles, ceiling fans, and intricate plantation shutters.
This method is incredibly efficient during heavy pollen periods or when preparing your home for seasonal temperature changes. A simple swipe captures the buildup instantly, keeping your indoor air significantly cleaner, so try integrating this into your monthly rotation for a healthier, dust-free breathing environment.
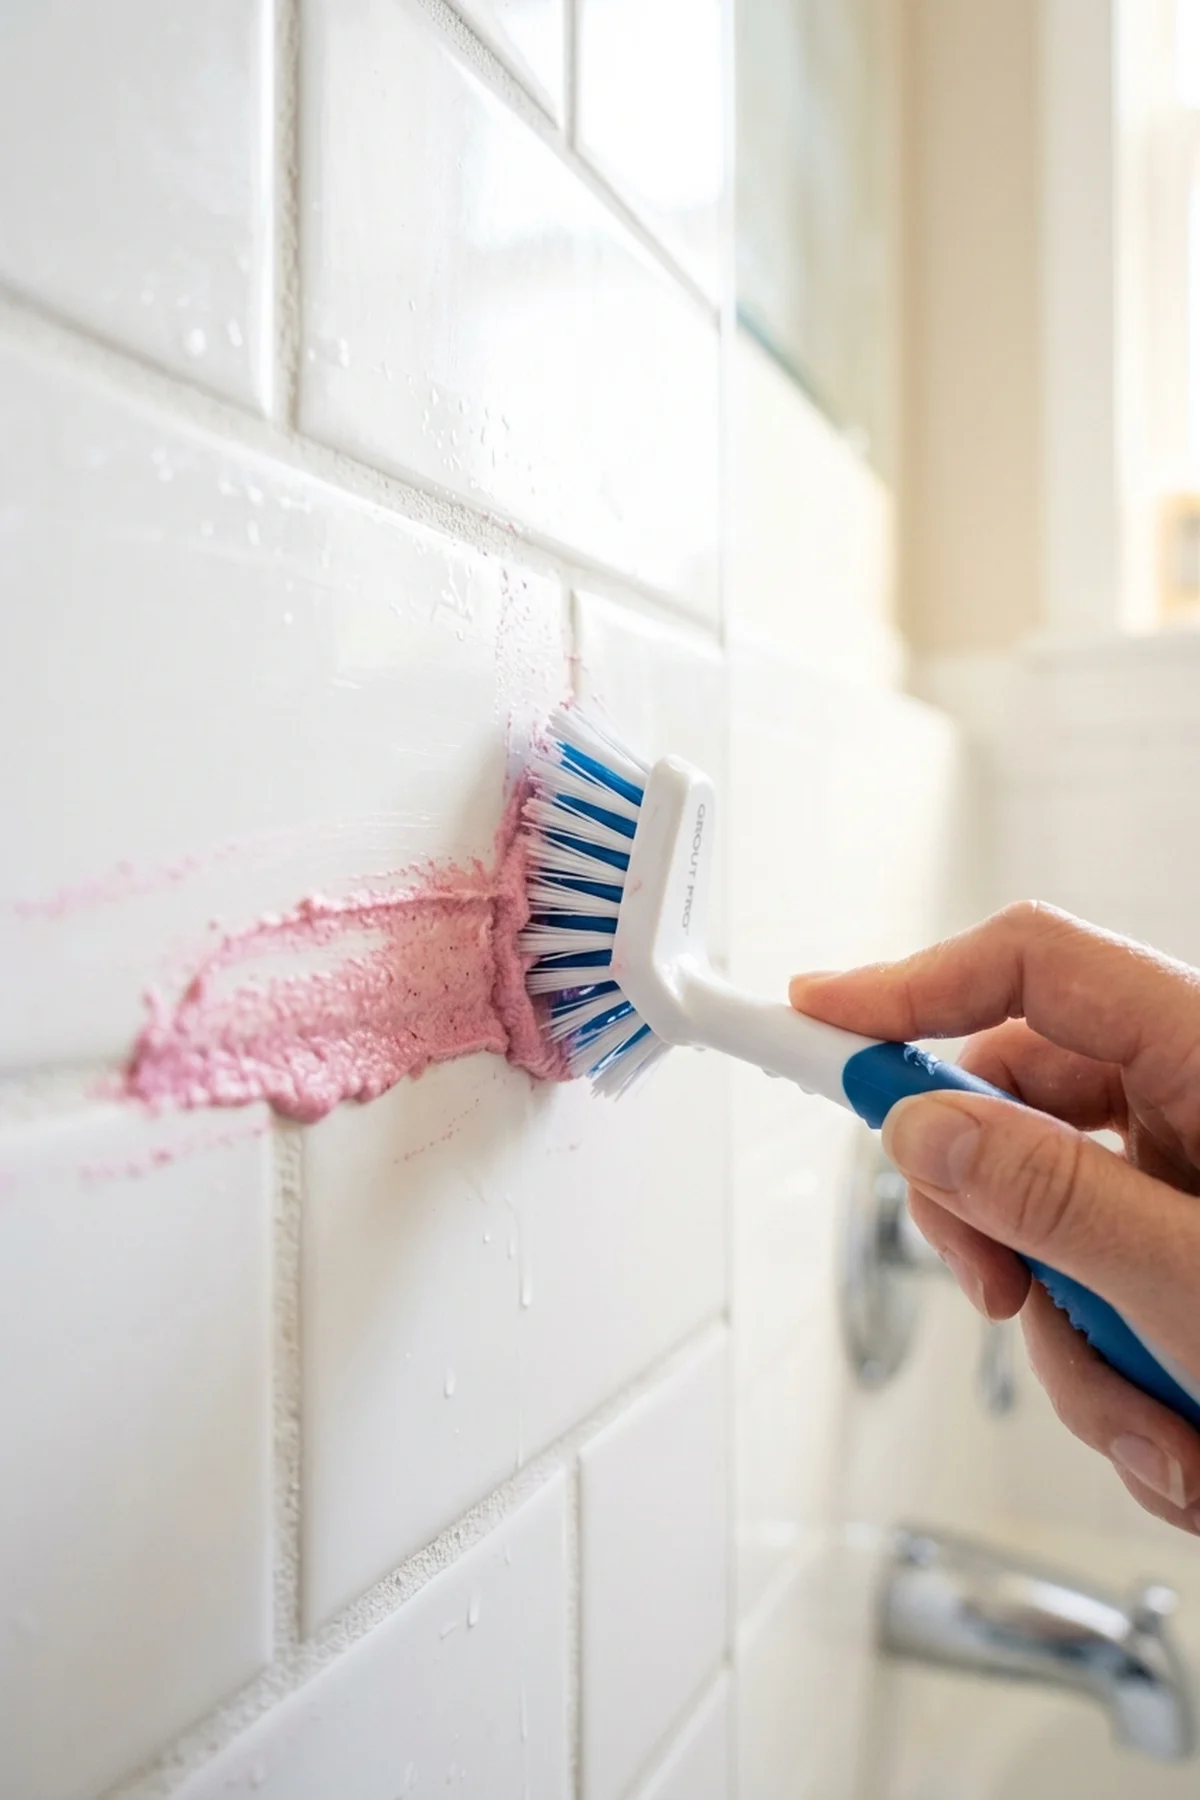
17. Rubber Blade Scrape Technique for Embedded Pet Hair in Carpets
⏱️ Difficulty: Beginner | 🎯 Best For: High-traffic rugs, carpeted stairs & velvet couches | ✨ Pro Result: Pulls deeply woven animal fur that vacuums leave behind
If you share your living space with furry friends, you likely know the frustration of vacuuming multiple times only to see fur still clinging to your rugs. A current trend alert in the cleaning community highlights the remarkable effectiveness of a Rubber Pet Hair Removal Blade. By utilizing the friction generated from the rubber edge, this simple hand tool pulls out deeply woven animal fur that even high-end vacuums routinely leave behind, making it a game-changer for anyone struggling with embedded pet dander.
To execute this technique, hold the blade at a slight angle and apply firm, short, pulling strokes across the carpeted surface or upholstery. The rubber material creates a static charge that rolls the stubborn hairs into easy-to-pick-up clumps, which is incredibly satisfying to watch. You can use it on everything from high-traffic area rugs and velvet couches to the carpeted stairs where standard vacuum heads struggle to fit, acting as an affordable and highly reliable addition to your regular tidying arsenal.
This DIY approach saves you from constantly buying expensive sticky rollers while delivering superior results on stubborn fabrics. It not only restores the appearance of your flooring but also extends the life of your vacuum by preventing nasty brush-roll tangles, so grab a rubber scraper and watch the hidden hair lift right up.
18. Tamping & Capillary Extraction for Fabric and Upholstery Liquid Spills
⏱️ Difficulty: Intermediate | 🎯 Best For: Red wine, coffee & tea spills on couches and dining chairs | ✨ Pro Result: Draws liquid upward into toweling without pushing dye into fibers
When a dark liquid like red wine or coffee hits your favorite sofa, panic often leads to scrubbing, which is the absolute worst thing you can do. The expert pick for handling these disastrous moments is Tamping & Capillary Extraction for Fabric Liquid Spills. This advanced method involves placing a thick, absorbent white towel over the spill and gently tapping it from above with a soft brush or the bottom of a heavy glass, drawing the liquid upward into the toweling instead of forcing the pigment deeper into the cushion.
It is crucial to use a bright white cloth so you can clearly monitor the color transfer as the stain lifts away from the fabric. To successfully clean your upholstery like a professional, repeat this tapping process with clean sections of the towel until no more moisture transfers. Avoid any twisting or rubbing motions, as those will permanently distort delicate fibers and spread the dye horizontally across the material, meaning patience is key when dealing with high-risk spills.
This professional-grade extraction technique safeguards the structural integrity of your furniture while effectively managing serious accidents. Once the bulk of the liquid is gone, you can confidently treat any faint remaining shadow with an appropriate spot cleaner, always relying on tamping rather than rubbing for a pristine finish.

19. Horsehair Bristle Deep Conditioning for Textured Leather & Car Seats
⏱️ Difficulty: Intermediate | 🎯 Best For: Aniline leather sofas, automotive seats & jackets | ✨ Pro Result: Lifts micro-dirt from grain creases while preserving natural oils
Restoring older leather pieces often feels like an expensive undertaking, but the right technique offers a brilliant budget swap to professional detailing. Utilizing a Horsehair Bristle Upholstery & Leather Brush allows you to safely lift micro-dirt from the intricate grain creases of your seats without causing any abrasive damage. The naturally soft yet resilient horsehair fibers flex perfectly to reach into the textured valleys of the hide, ensuring a comprehensive clean that preserves the material’s delicate natural oils.
To condition effectively, apply a premium leather cleaner or balm directly to the bristles rather than pouring it onto the surface. Gently work the product in using light, circular motions, allowing the brush to agitate the embedded grime safely out of aniline sofas, automotive seats, or heavy jackets before wiping away the suspended dirt with a soft cloth immediately to reveal a revived, supple finish. Consistent care prevents the leather from drying out and cracking over time.
This professional maintenance routine extends the lifespan of expensive leather goods while maintaining their luxurious tactile feel. Taking a few extra minutes to condition properly will save you hundreds in restoration costs down the line, ensuring that if you treat your leather right, it will look beautiful for decades.
20. The Carpet Blotting Rule: Stopping Friction Fraying and Fiber Distortion
⏱️ Difficulty: Beginner | 🎯 Best For: Wool area rugs, nylon carpets & woven runners | ✨ Pro Result: Prevents permanent fuzzy pile blooming and structural matting
Tackling sudden carpet messes is less about the chemicals you use and more about the physical technique you apply to the fibers. A surprisingly beginner friendly secret is to rely entirely on the carpet blotting rule, which prevents permanent fuzzy pile blooming and structural matting, primarily by avoiding the mistake of Aggressively Scrubbing Carpet Stains Instead of Blotting (Friction Fraying). When you scrub vigorously, you literally untwist the carpet yarns, causing a permanent fuzzy patch that no cleaner can repair.
Instead of reaching for the scrub brush, grab a stack of clean white paper towels or a thick absorbent rag and press down firmly with your body weight to maximize the downward pressure, transferring the offending liquid out of the woven runner and into the disposable layers. If you are doing a deep clean later on, you might finish up by running a Dual-Chamber Self-Separating Spin Mop over adjacent hard floors to ensure the entire area is pristine. Blotting protects the structural integrity of your expensive wool or nylon rugs effortlessly.
This essential DIY knowledge separates ruined carpets from flawlessly rescued ones, ensuring your home looks impeccable. Always remember to press, never rub, and your flooring will easily survive the occasional mishap so that your carpets will thank you for the gentle treatment.

21. High-Pressure Handheld Steam Sanitation for Mattress & Grout Mold
⏱️ Difficulty: Intermediate | 🎯 Best For: Mattress seams, window tracks & tile corners | ✨ Pro Result: Kills 99.9% of dust mites and bacteria with 212°F chemical-free vapor
As an Expert Pick for deep sanitation, investing in a high-quality Handheld High-Pressure Steam Cleaner transforms how you tackle biological contaminants without harsh chemicals. Firing pressurized vapor at 212°F instantly dissolves grime while purifying surfaces naturally. This method excels at eradicating stubborn grout mold and hidden dust mites that traditional sprays simply cannot reach.
For optimal results, direct the steam nozzle tightly along mattress piping seams, moving slowly to ensure the thermal shock penetrates deeply into the fabric fibers. In bathrooms, a quick blast along tile edges and window tracks blasts away impacted dirt that usually requires hours of tedious scrubbing with tiny brushes. Always keep a dry microfiber cloth in your other hand to immediately wipe away the liquified sludge before it cools and settles back into the crevices.
Embracing a Maximalist approach to home hygiene means deploying this powerful tool across multiple rooms, turning an arduous deep clean into a satisfyingly swift mattress refresh session. The ultimate takeaway is clear: pressurized steam effortlessly out-performs manual scrubbing while leaving zero toxic residue behind.
22. OxiClean Oxygen Thermal Activation for Yellowed Pillowcases & Linens
⏱️ Difficulty: Intermediate | 🎯 Best For: Body oil stains, dingy white sheets & sports performance apparel | ✨ Pro Result: Brightens dingy whites without fiber-weakening chlorine bleach
Looking for a genuine Time-Saver when dealing with discolored bedding? The secret lies in properly activating OxiClean Versatile Oxygen Stain Remover with scalding hot water before soaking your linens. Unlike harsh chlorine bleach that aggressively degrades cotton fibers and causes premature tearing, thermally activated oxygen power gently bubbles away deeply embedded body oils and sweat stains.
To execute this correctly, dissolve the powder fully in a bucket of boiling water before submerging your yellowed pillowcases, ensuring the oxygen release reaction occurs directly within the fabric matrix. Let the fabrics soak for a minimum of six hours—or ideally overnight—allowing the enzymes ample time to digest complex protein stains. You will visibly notice the water turning murky as the trapped sebum and dead skin cells are safely lifted away from the brightened textile threads.
This method is especially valuable during a Seasonal bedding swap when you want your stored whites looking perfectly pristine. By mastering this simple thermal activation soak, your household linens will consistently emerge from the wash looking brilliantly crisp and revitalized.
23. Fels-Naptha Bar Shave Trick for Stubborn Collar Ring & Grease Stains
⏱️ Difficulty: Beginner | 🎯 Best For: Ring-around-the-collar, mechanic grease & grass stains | ✨ Pro Result: Breaks heavy sebum lipids before the normal wash cycle
When searching for a highly effective Budget Swap to replace expensive commercial stain sprays, look no further than the classic Fels-Naptha Heavy Duty Laundry Bar. This old-school soap contains concentrated lipid-busting agents that aggressively break down heavy sebum deposits found in ring-around-the-collar and dark mechanic grease. Shaving a small amount directly onto the affected area creates a potent, targeted treatment that significantly outperforms modern liquid detergents.
To employ this trick, lightly dampen the stained fabric with warm water and use a cheese grater to sprinkle fine soap shavings directly onto the grime. Gently massage the flakes into the fibers using an old toothbrush, creating a thick paste that can penetrate deeply into the woven threads before you toss the garment into the standard wash cycle. The concentrated surfactants will aggressively bind to the oily residue, effortlessly lifting it away during the agitation phase.
This incredibly cheap DIY laundry solution saves money while rescuing clothes you might otherwise have thrown away. Keep a dedicated grater and laundry bar next to your washing machine for an unbeatable, rapid-response stain removal system.

24. Microfiber Longevity Rule: Protecting Split Static Fibers in the Wash
⏱️ Difficulty: Beginner | 🎯 Best For: Microfiber towel maintenance & streak-free glass cloths | ✨ Pro Result: Maintains 100% electrostatic dust-grabbing and water-wicking power
A crucial Hidden Gem of household maintenance is understanding how to properly care for your cleaning tools, specifically avoiding the disastrous mistake of Washing Microfiber Cloths with Fabric Softeners (Clogs Static Fibers). Microfiber relies on microscopic split threads to statically attract dust particles and wick up immense volumes of liquid through capillary action. When exposed to liquid softeners or dryer sheets, these tiny crevices become instantly coated in waxy animal fats and silicone polymers, permanently destroying their effectiveness.
To preserve their remarkable cleaning power, always wash your microfiber towels in a dedicated load completely separate from cotton towels or clothing. Use a minimal amount of clear, unscented liquid detergent and opt for a warm water cycle to gently melt away any trapped dirt and grime. For drying, either air dry them on a rack or use the lowest possible heat setting on your machine, as high temperatures can literally melt the delicate synthetic fibers together.
Adopting this strict, Professional laundering standard ensures your investment in high-quality cloths continues to pay off for years. Your windows will remain streak-free, and your dusting routines will continue to capture particles seamlessly rather than just pushing them around.
25. Dual-Chamber Spin Mop System for Clean-Water Hardwood Mopping
⏱️ Difficulty: Beginner | 🎯 Best For: Sealed hardwood, luxury vinyl plank & porcelain floor tiles | ✨ Pro Result: Zero dirty-water recirculating and rapid streak-free drying
The biggest Trend Alert in floor care is finally abandoning the archaic practice of pushing dirty water around your house, thanks to the brilliant engineering of a Dual-Chamber Self-Separating Spin Mop. Traditional single-bucket systems inevitably force you to rinse your mop head in the exact same murky water you just scrubbed off the floor, leading to cloudy residues and lingering odors. By physically isolating the clean, soapy water from the extracted grime, you guarantee that only pristine solution touches your sealed hardwood and luxury vinyl planks.
When operating this modern system, utilize the high-speed spinning mechanism to aggressively wring out excess moisture until the microfiber head is merely damp, not soaking wet. This strict moisture control is absolutely vital for preventing water damage, warping, and streaking on delicate wooden surfaces. The continuous supply of fresh water means you can confidently clean larger square footage without ever needing to stop, empty, and refill a contaminated bucket halfway through your chores.
This Minimalist upgrade streamlines your entire mopping routine into a highly efficient, hygienic process. You will immediately notice a brighter, cleaner finish on your floors, proving that working smarter with better equipment always yields superior results.

Frequently Asked Questions
What are the best cleaning hacks tips and tricks for stubborn kitchen grease?
One of the most effective methods is applying Dawn Platinum Powerwash Dish Spray and utilizing the active chemical dwell-time saturation protocol. Letting the product sit for 10-15 minutes dissolves heavy carbon buildup and grease splatters before you wipe it away. This eliminates the need for harsh, abrasive scrubbing on your stovetops and ovens.
How can I safely clean my natural marble countertops?
A common mistake is applying vinegar or citrus cleaners to natural marble and granite, which causes cloudy micro-etching over time. Instead, stick to a pH-neutral solution like Dr. Bronner’s Pure Castile Liquid Soap diluted with water. This protects the stone sealant integrity while removing dirt effectively.
What are some fast cleaning hacks for removing hard water rust rings in the toilet?
If standard liquid cleaners aren’t working, try a Pumie Heavy-Duty Toilet Scouring Stick. Wet the pumice stone thoroughly and gently buff the porcelain ring. It provides scratch-free eradication of calcified yellow-brown deposits that have built up over time.
How should I care for microfiber cloths to keep them effective?
You must avoid washing microfiber cloths with fabric softeners, as they clog the static fibers and ruin their absorbency. Wash 300 GSM split microfiber cleaning cloths separately using a mild detergent and dry them on low heat. This ensures they maintain 100% of their electrostatic dust containment power for your next speed cleaning routine.
Are there any dangerous cleaning mixtures I should avoid?
Yes, the most critical rule of household chemistry is never mixing chlorine bleach with acidic vinegar, as this reaction releases a highly toxic gas. Always use these chemicals separately in well-ventilated areas. Stick to safer DIY combinations like sodium bicarbonate and distilled white vinegar for harmless, foaming drain deodorizing.
Get our latest guides, news, and insights highlighted in your Google Search & AI Overviews.